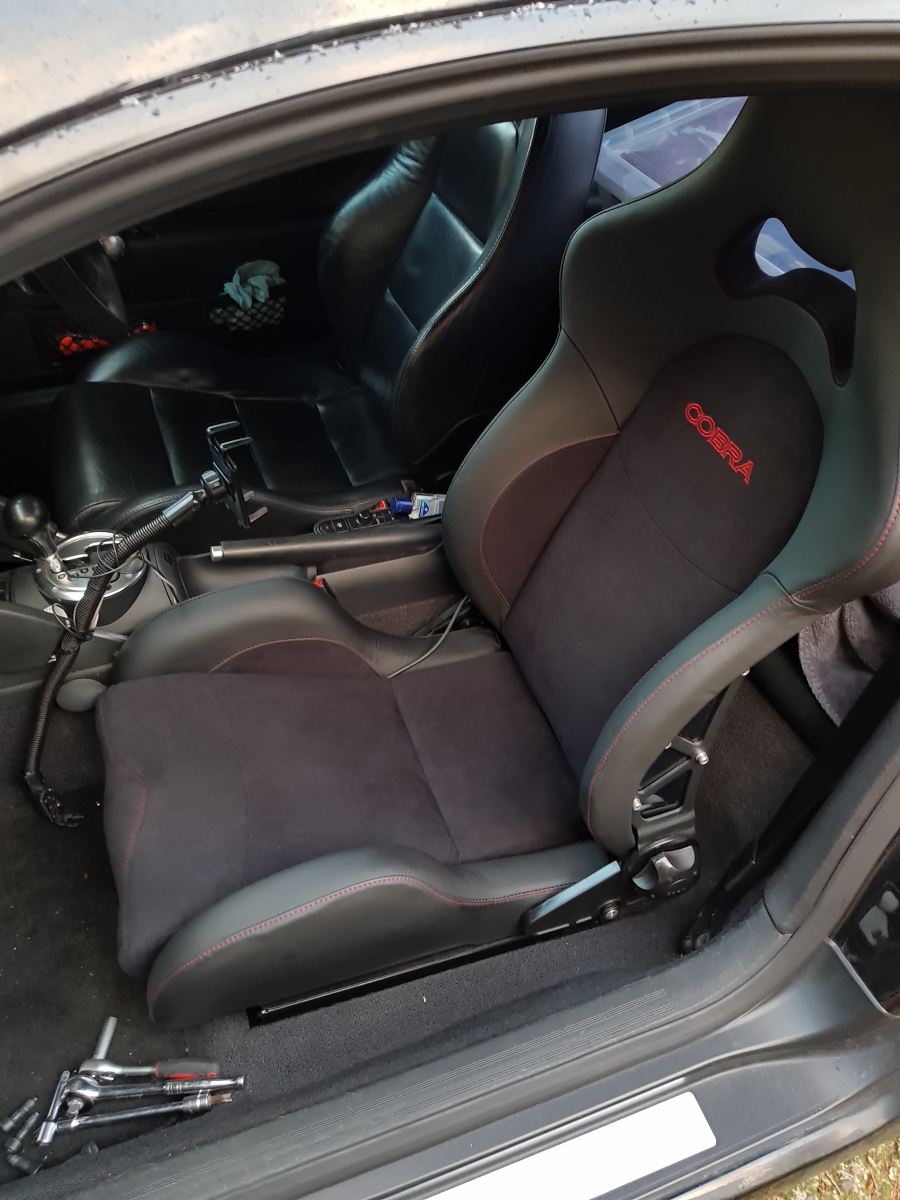
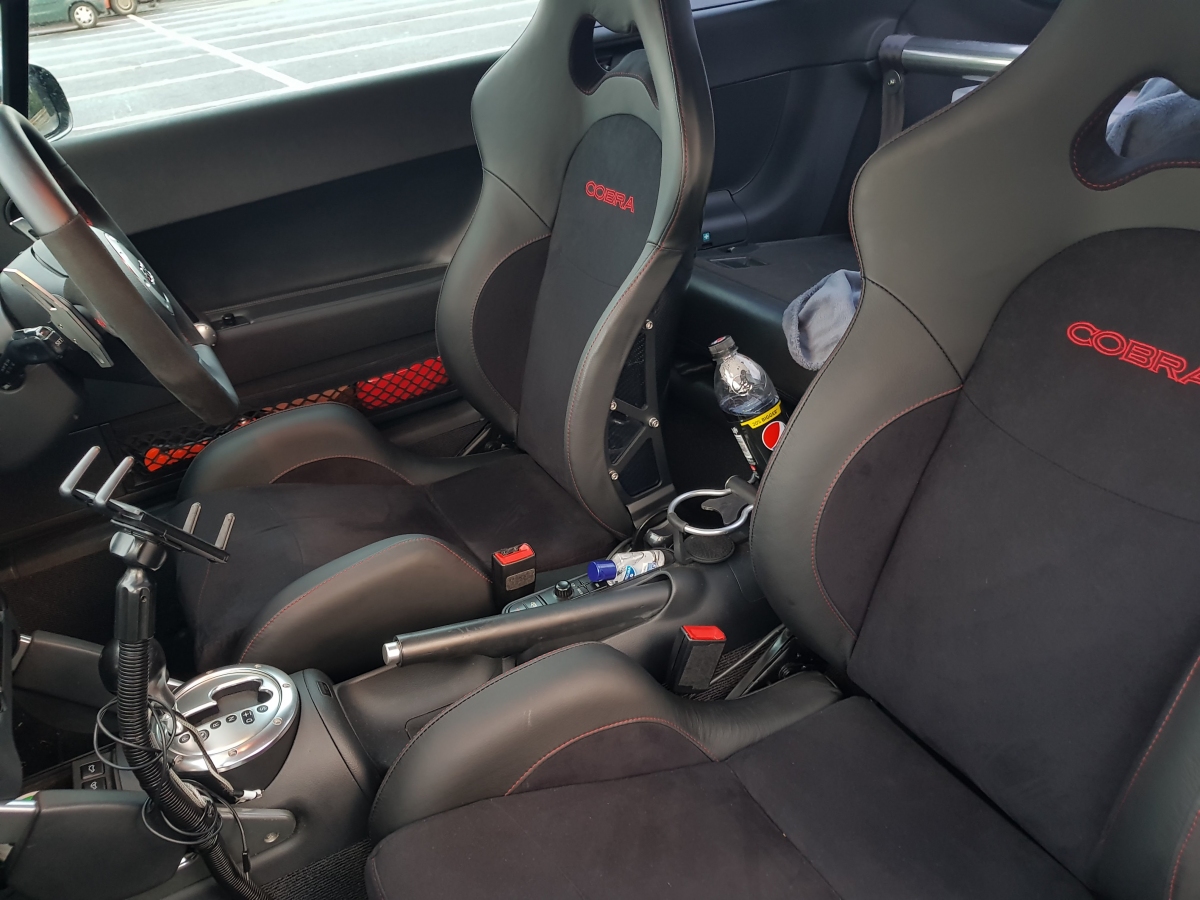
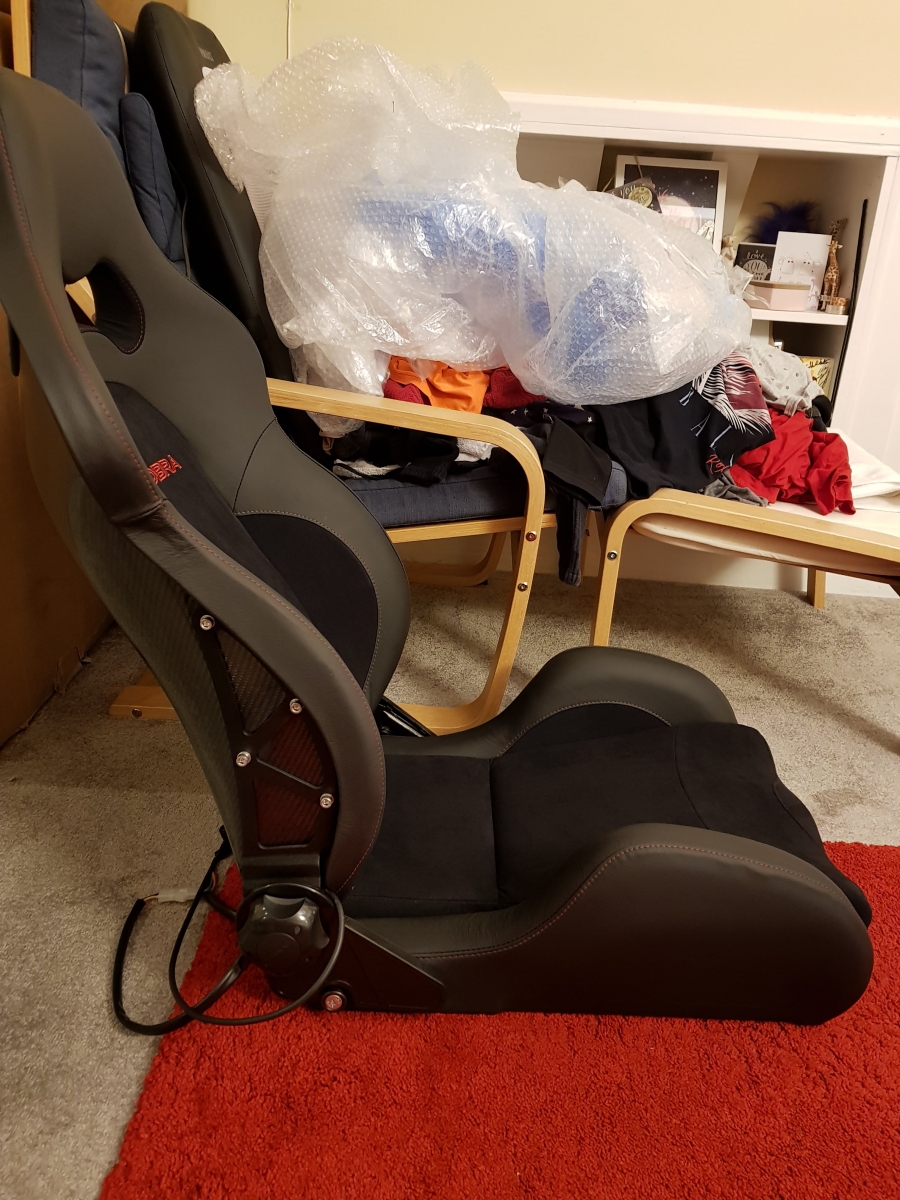
In September 2017 I ordered a pair of Cobra Misano Lux seats from GSM Performance.
When they arrived, the seats were missing the tilt mechanism which allows you to tip the seat-back forwards in order to allow people to get into the back seats. Because this would mean it wouldn't be possible for a back seat passenger to quickly get out of the car in an emergency, I sent them back and asked GSM to arrange for the tilt mechanism to be fitted.
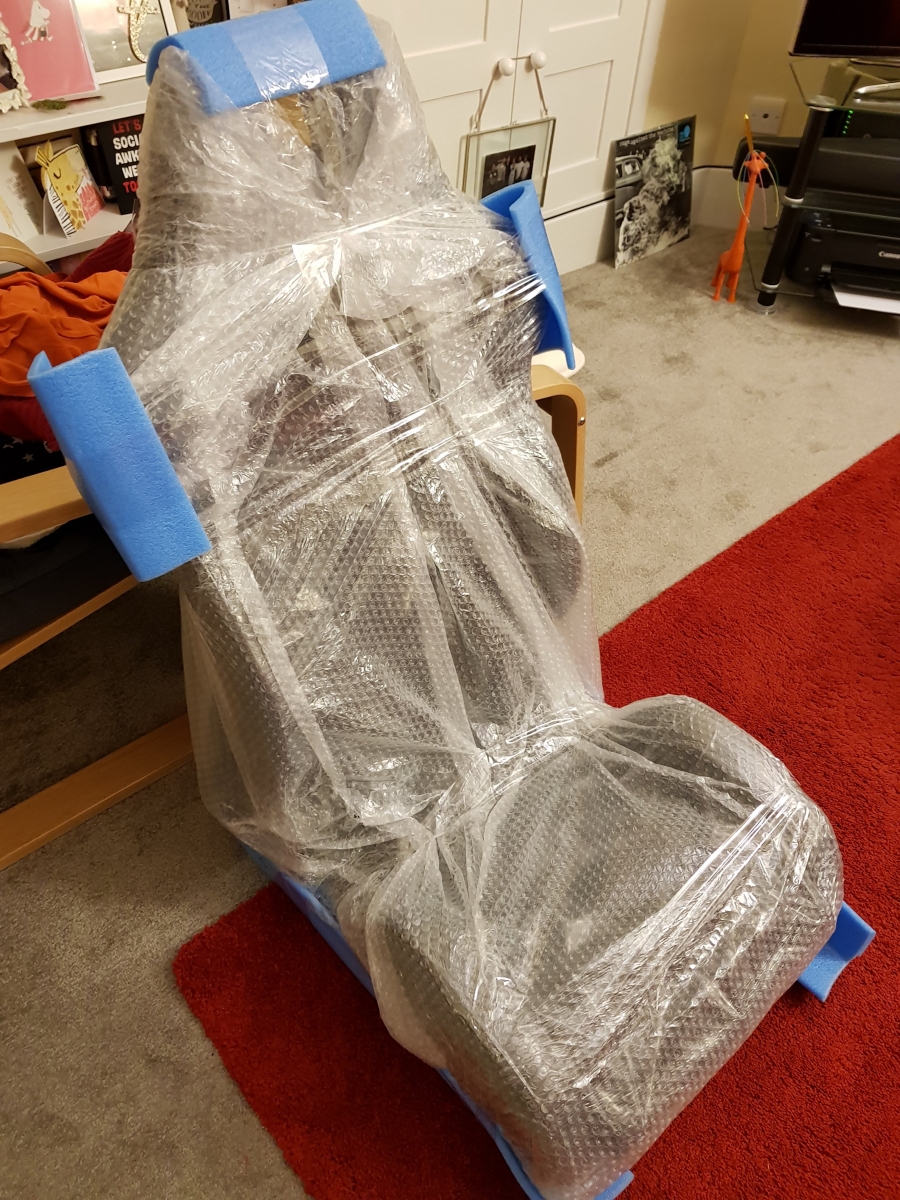
Unfortunately, because Cobra themselves stopped supplying seats with a tilt mechanism some time back, it took almost six months for them to source a pair of tilt mechanisms, but they did in the end for which I'm very grateful both to GSM and Cobra for their perseverance. Last week, the seats arrived back with me and I could get on with fitting them.
Specification
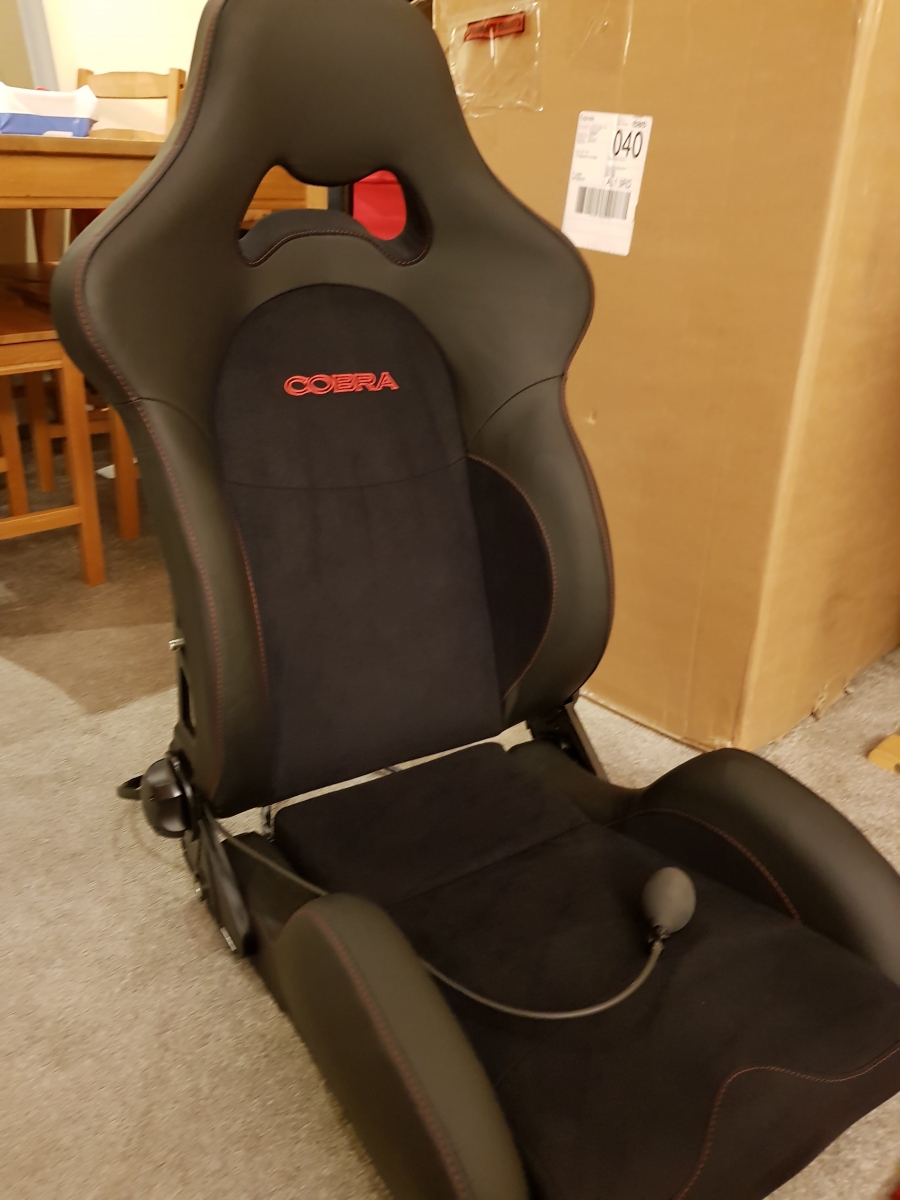
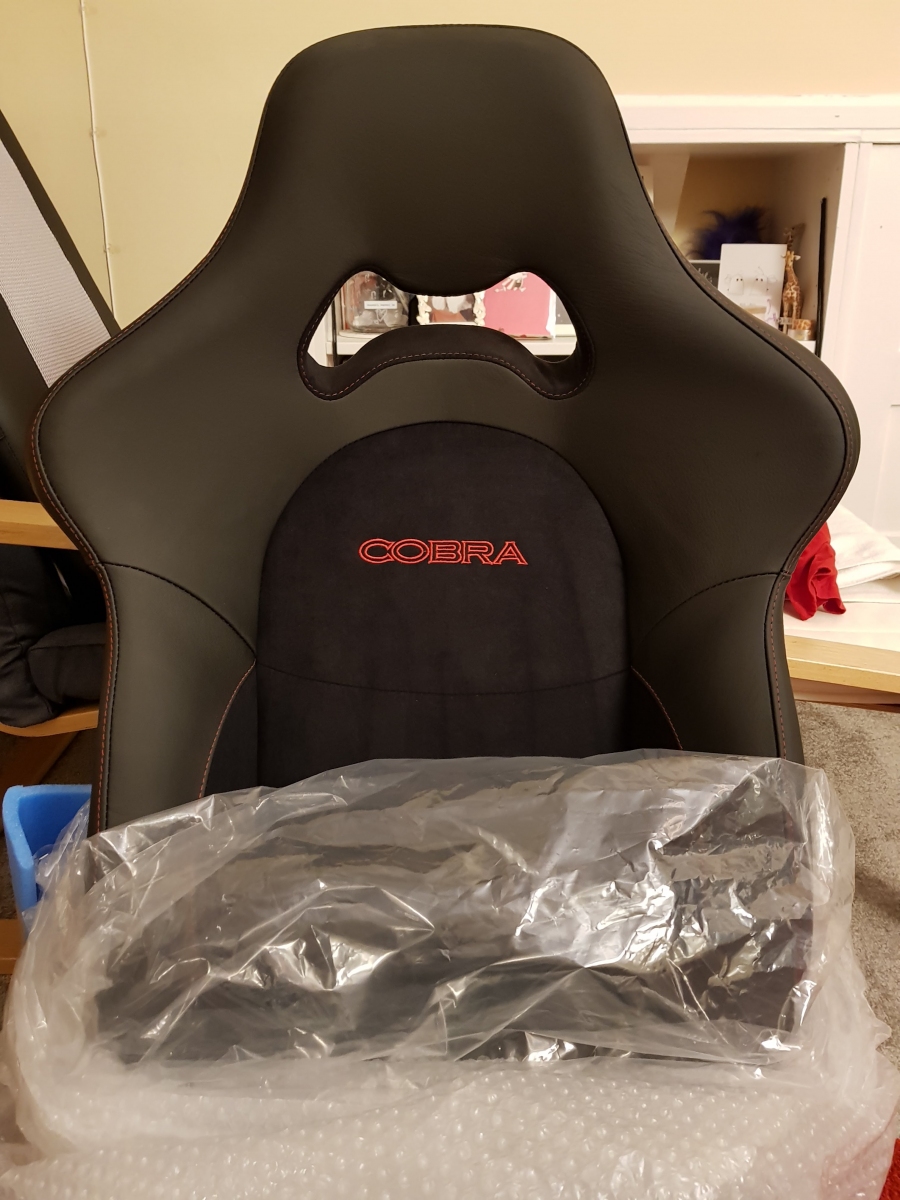
The seats were ordered with black leather outers, black alcantara centre sections, red stitching and heating, and they even came with one of those inflatable lumbar supports which you inflate with a little rubber bulb and whose sole purpose seems to be to try and push your kidneys through the front of your ribcage. But, y'know, if everyone else thinks they're cool, then I want them too - fomo at its best/worst I guess. :)
Airbags
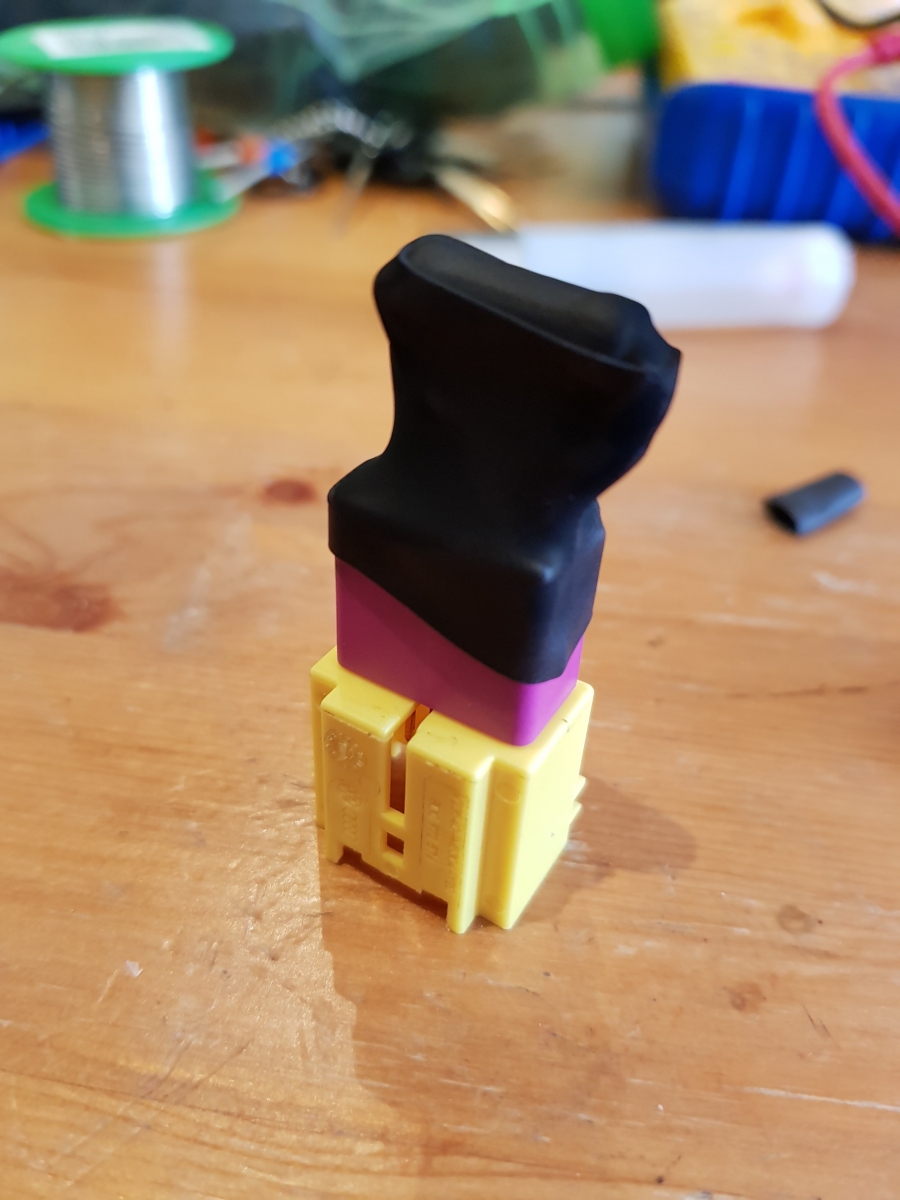
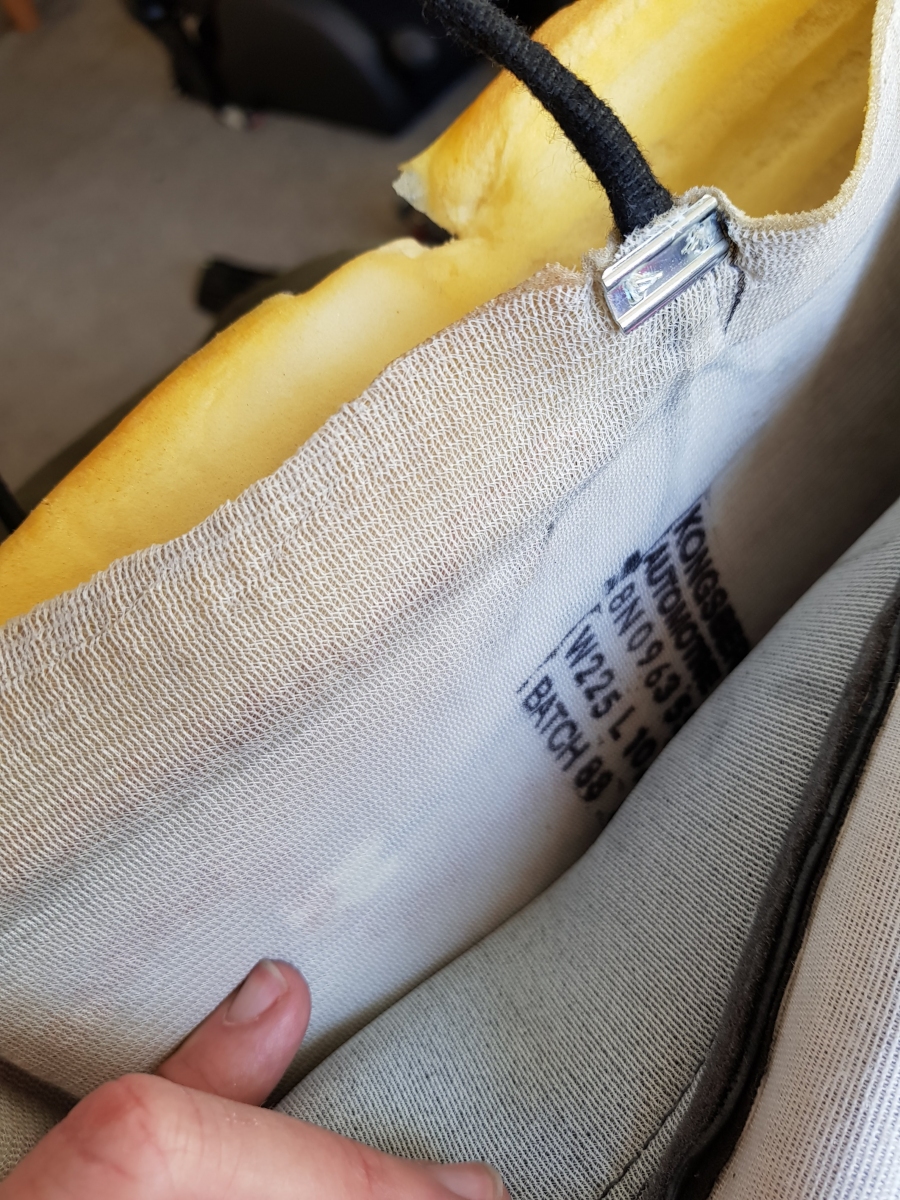
The OEM seats are fitted with hip-protection airbags which I couldn't safely migrate to the new seats.
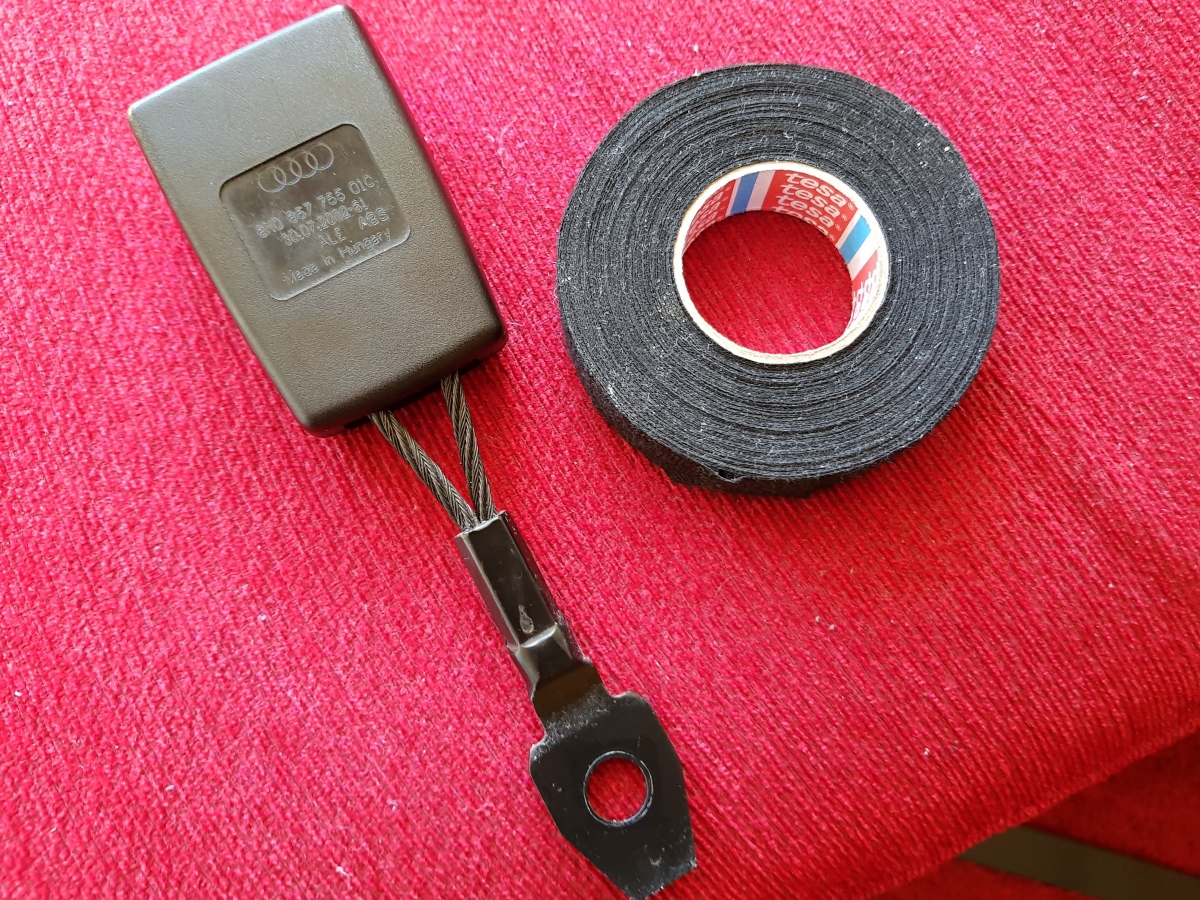
So, I had to do two things: the first was to try and prevent an accidental airbag deployment, and the second to create a jumper-plug which would plug into the airbag connector in the car to prevent an airbag warning light (which would disable the entire airbag system in the car).
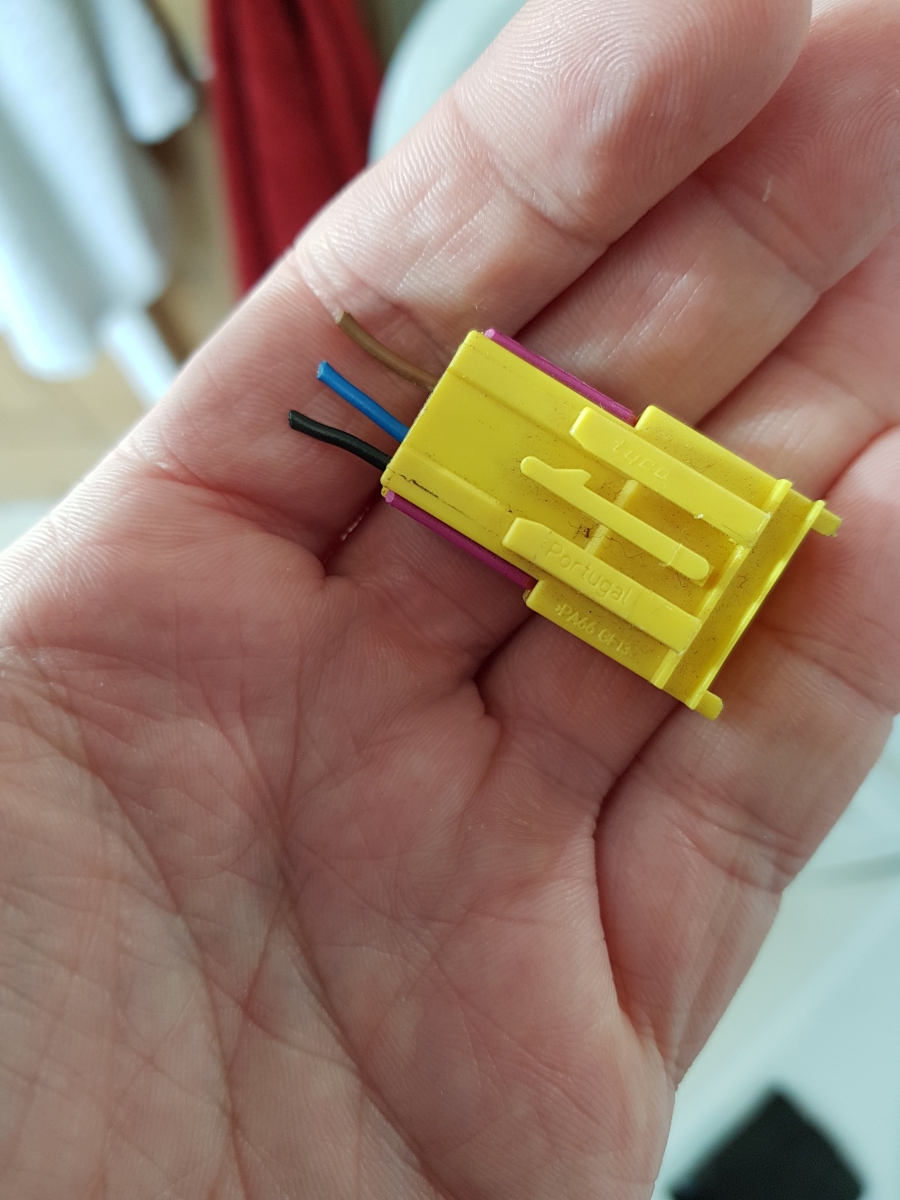
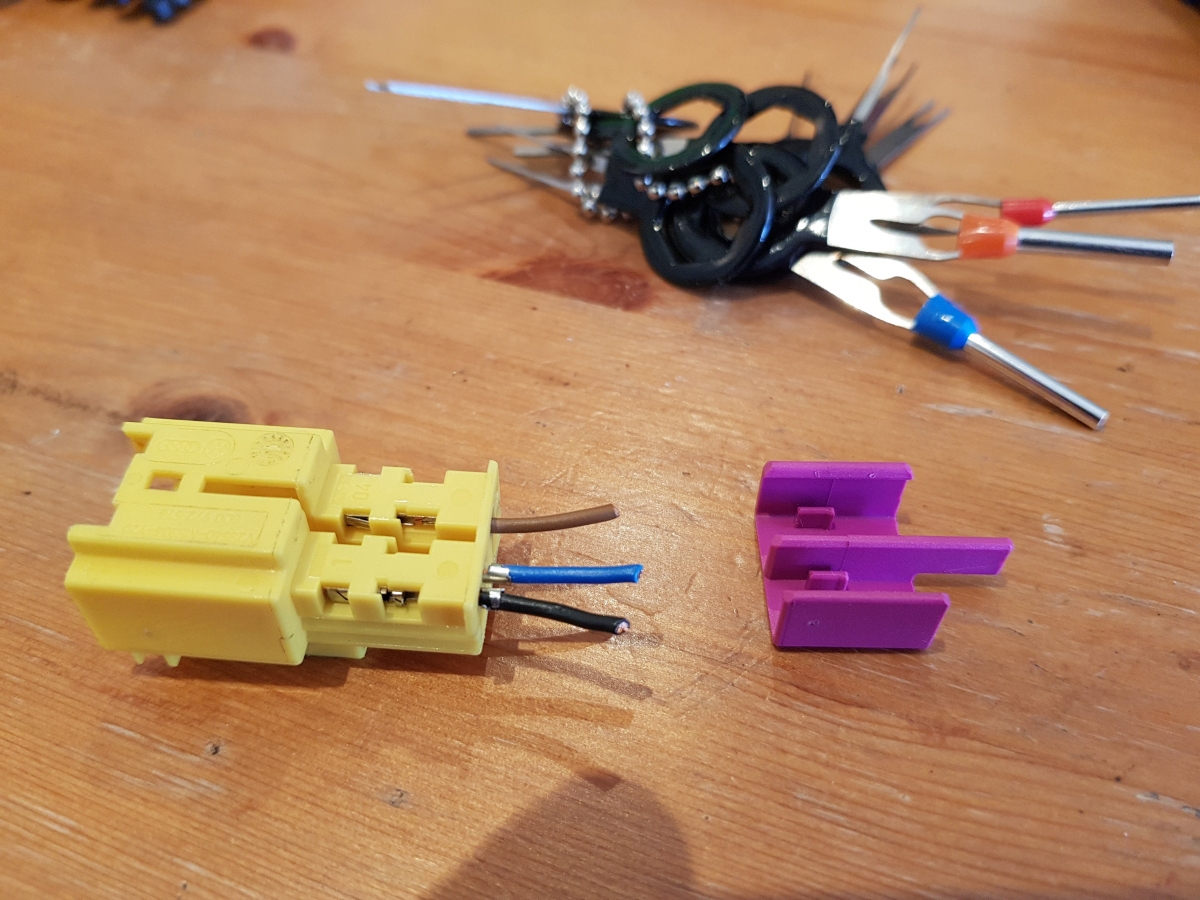
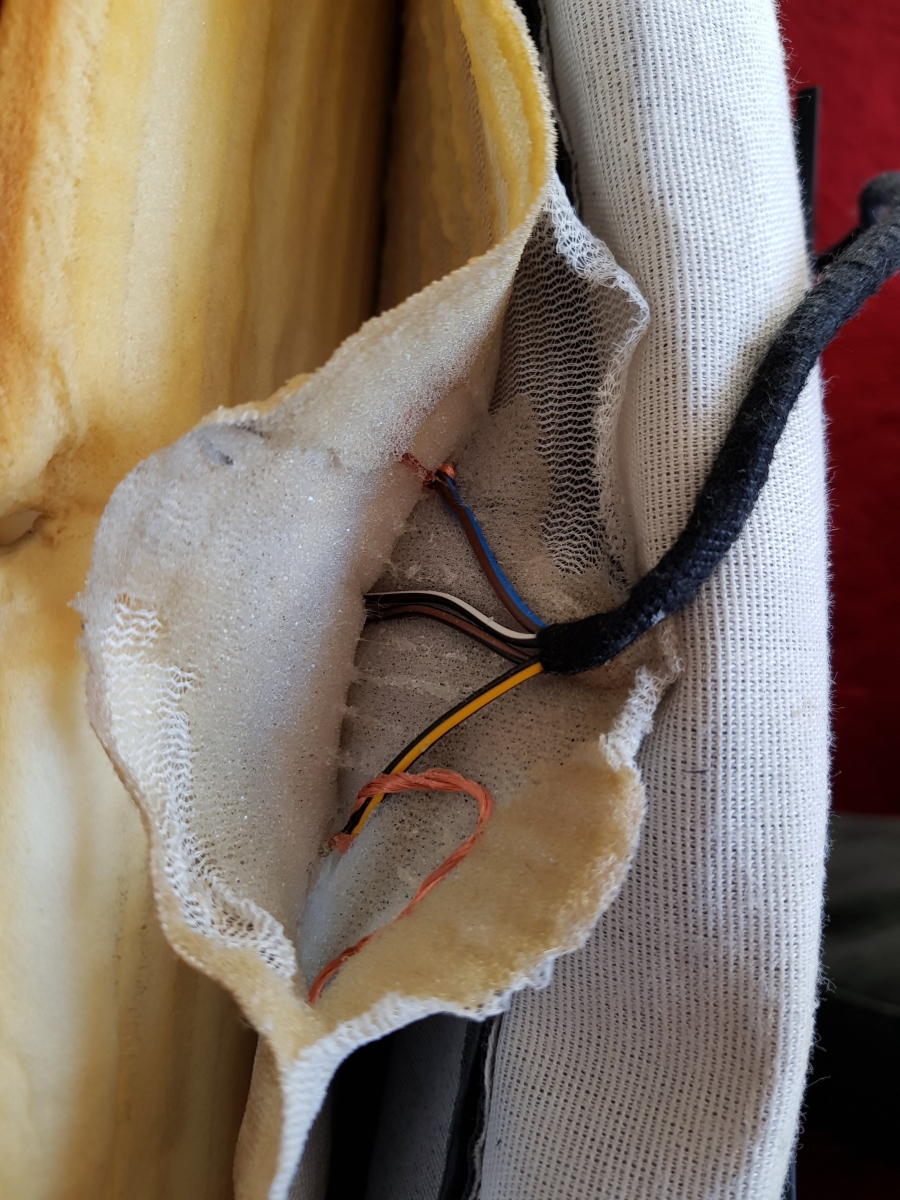
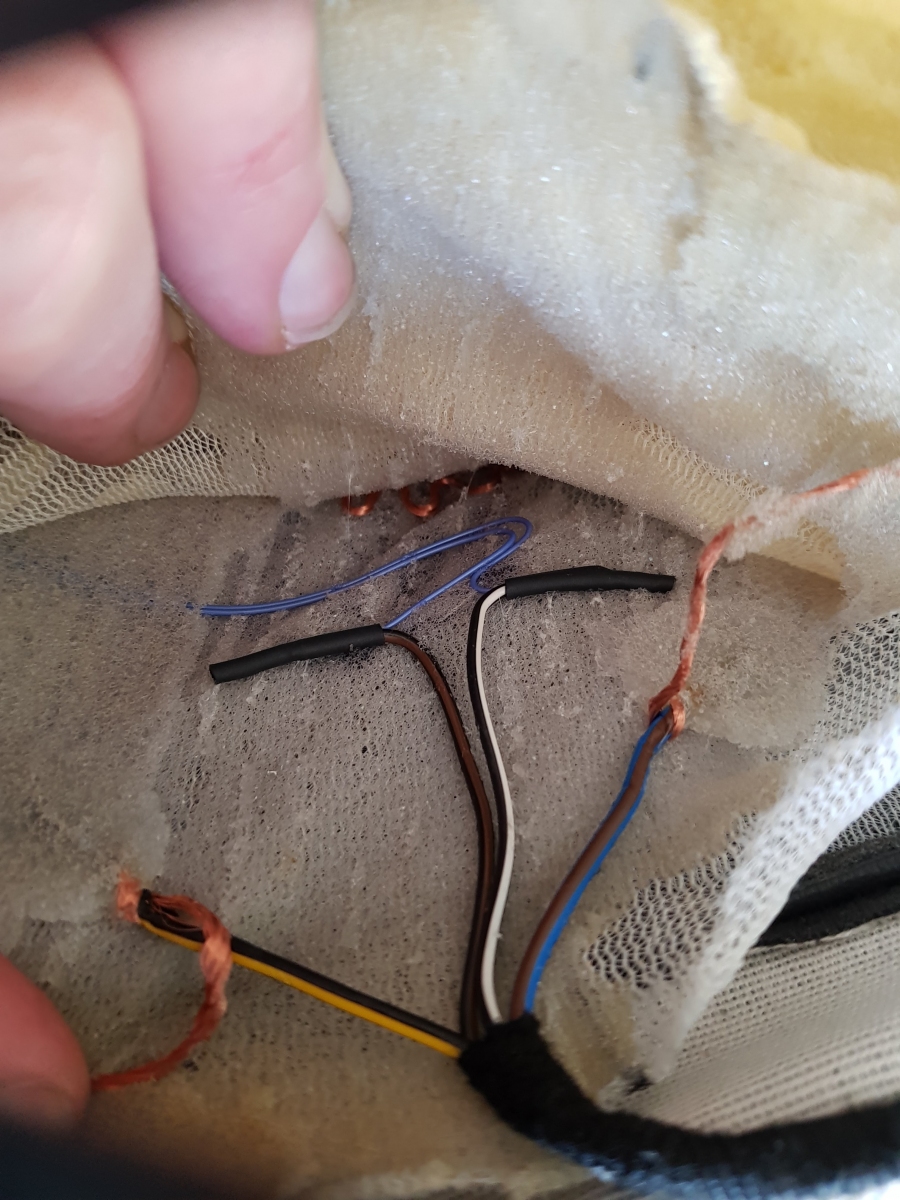
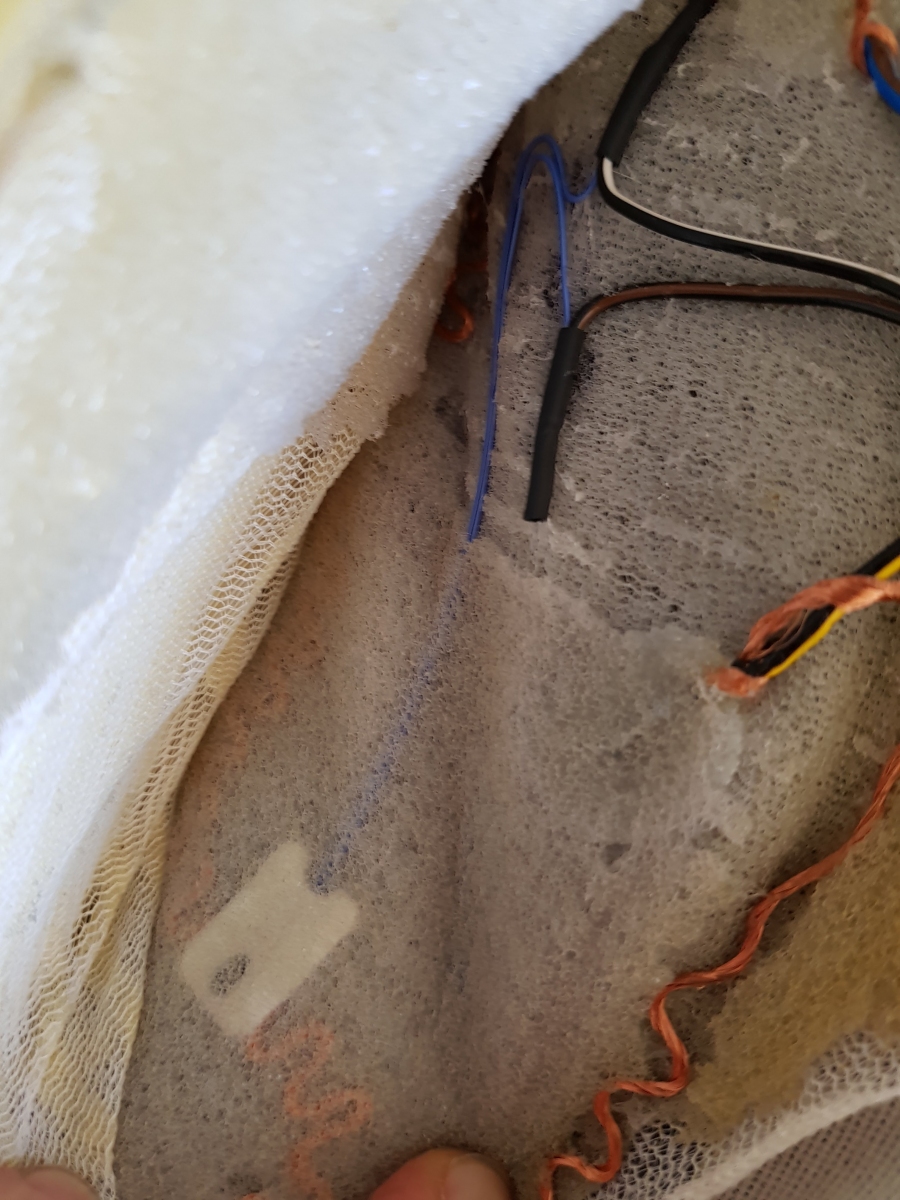
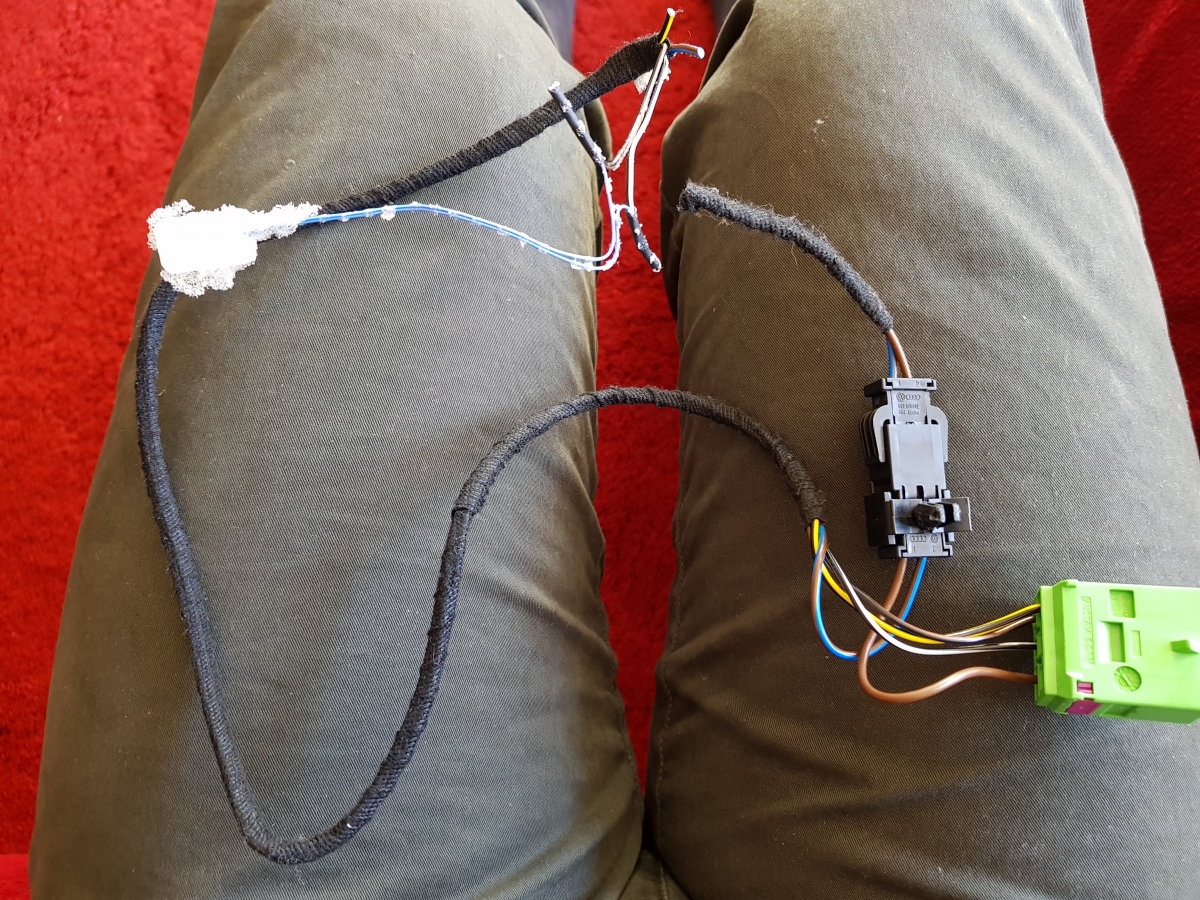
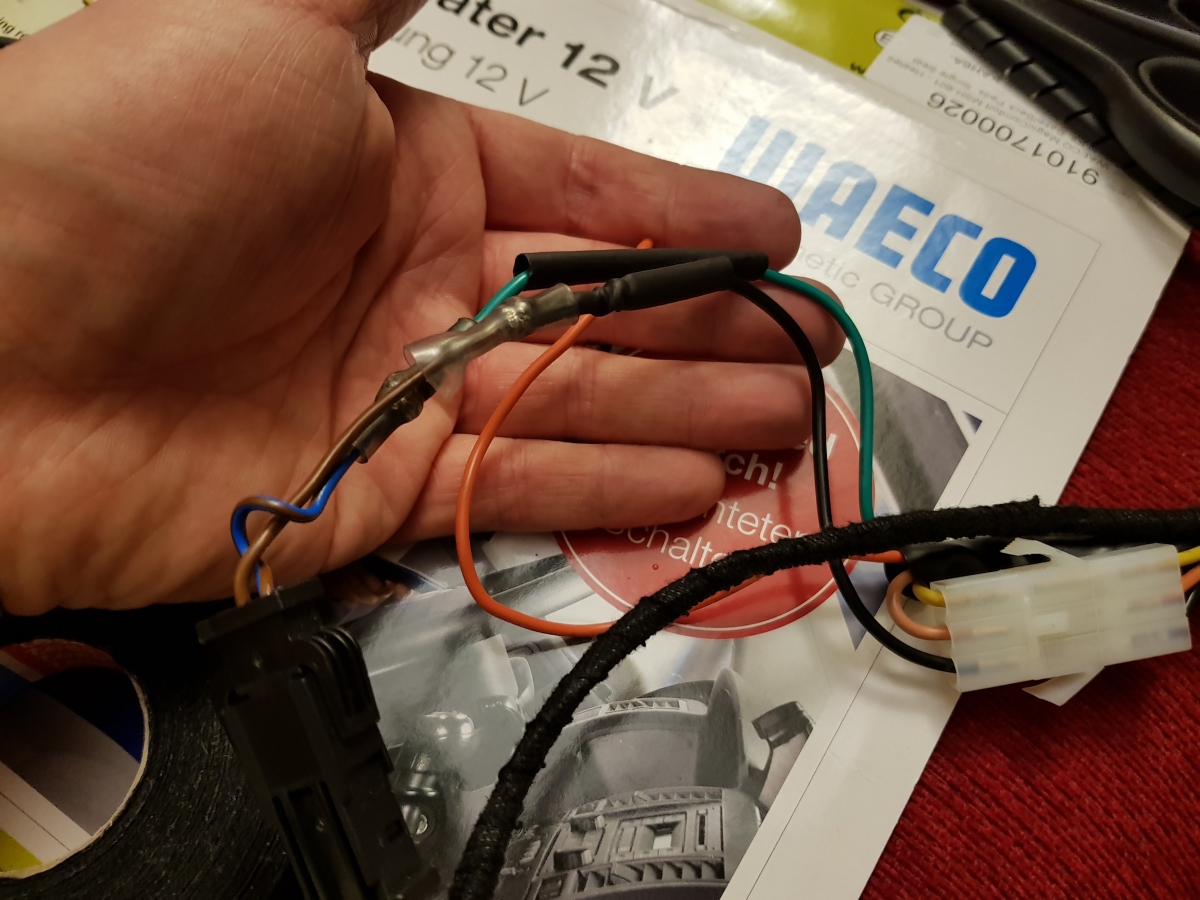
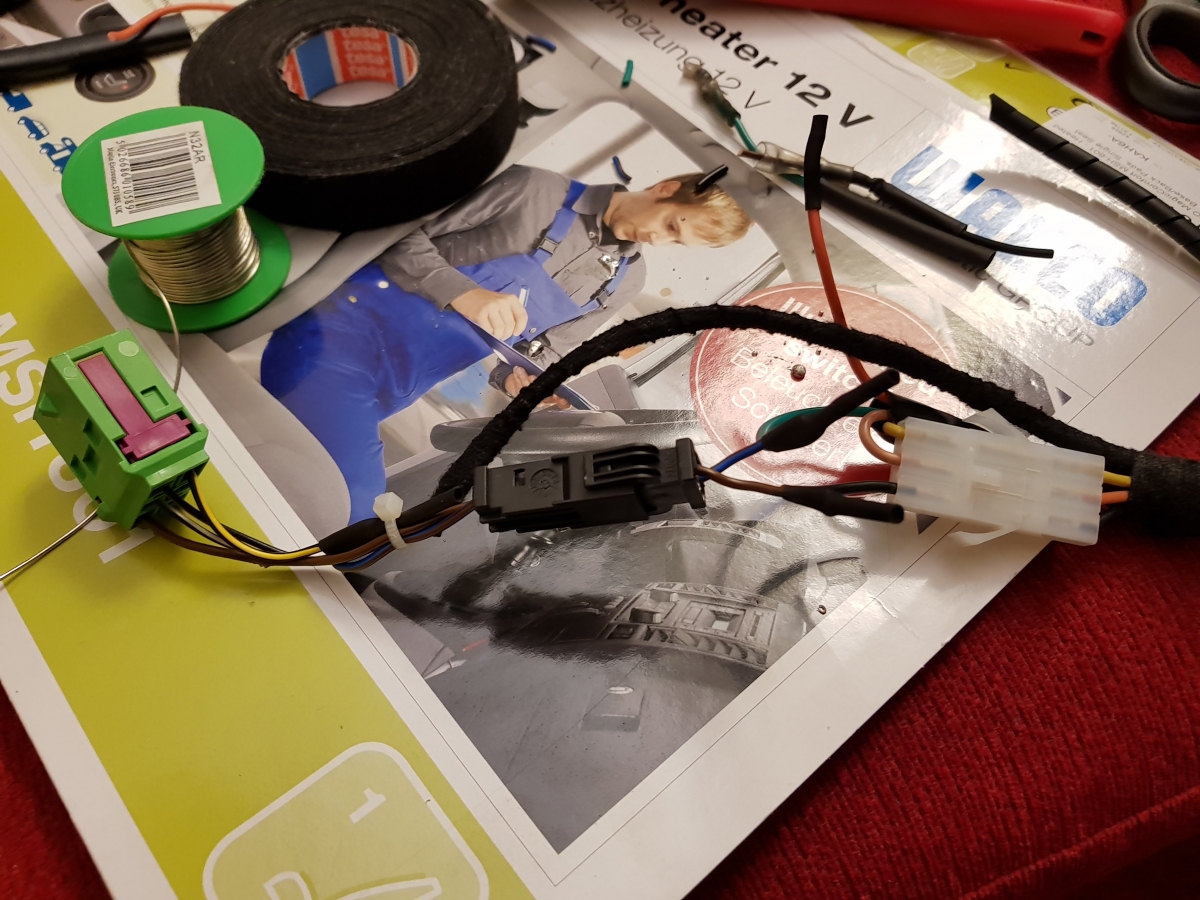
To minimise the chances of an accidental airbag deployment, I cut the connector plug off the seat's airbag wiring, stripped the insulation off the earth wire (brown) and two signal wires (blue and white), twisted them all together, insulated the conductors, and tucked the resulting blind wire out of the way.
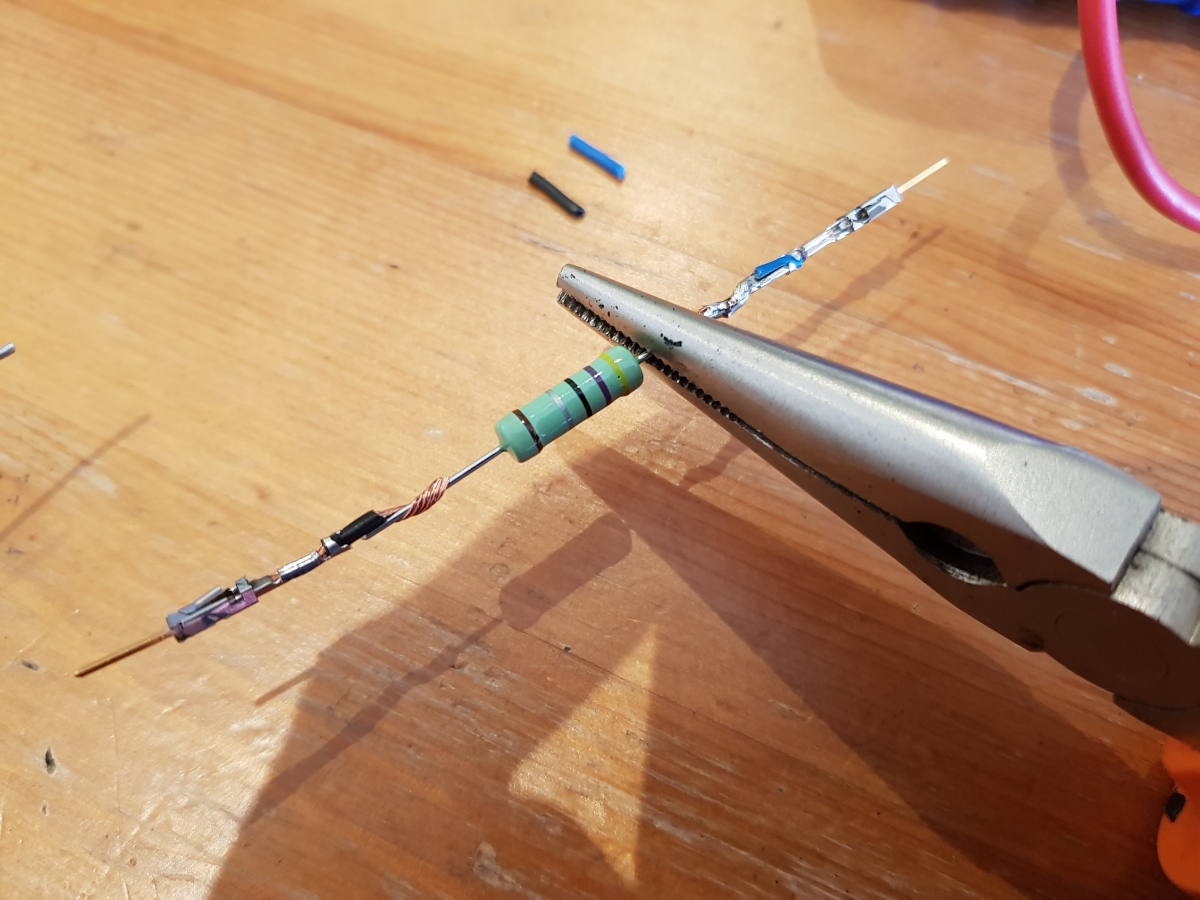
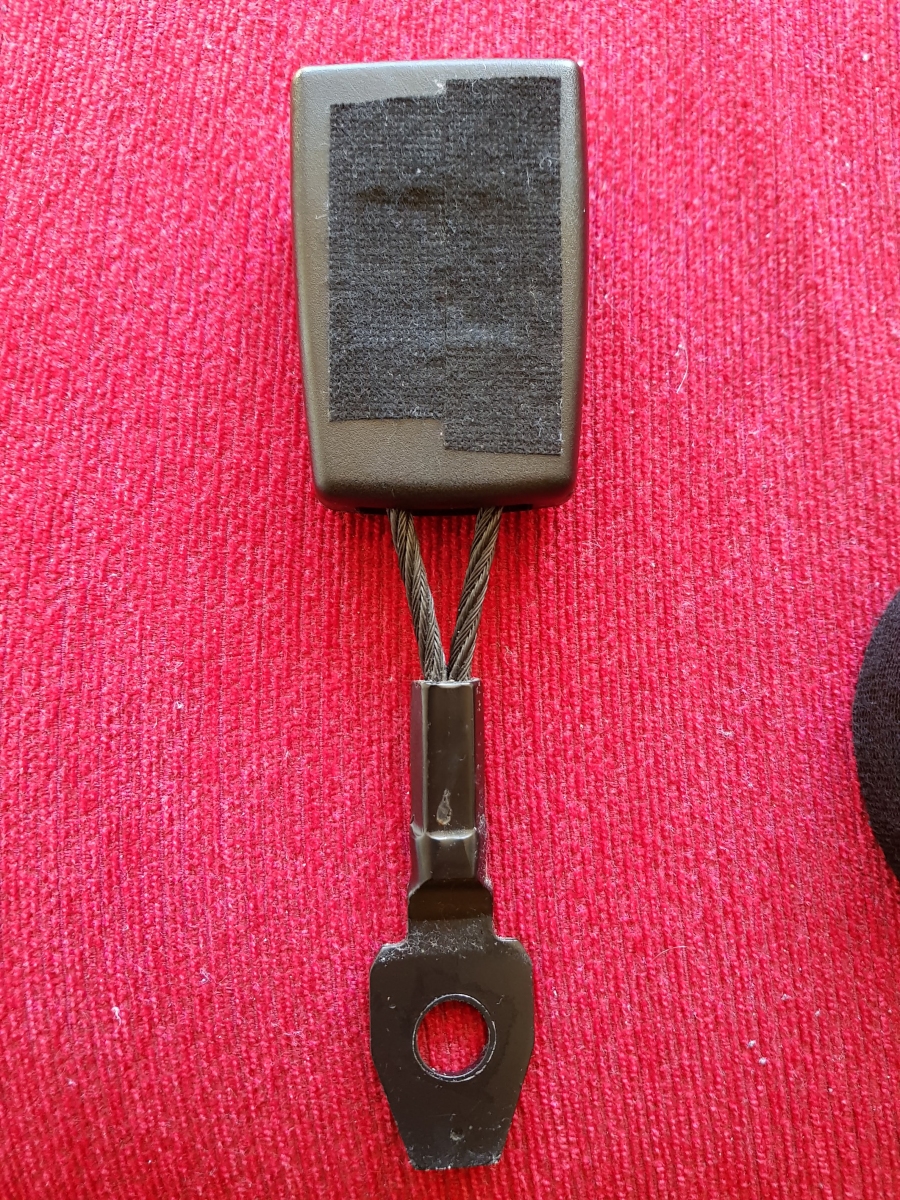
To prevent an airbag warning light on the dashboard, I needed to insert a 4.7 ohm resistor between the blue and white wires in the car wiring loom. I used the airbag connector plug which I cut off the seat's airbag loom, soldered a 4.7 ohm resistor between the two wires, and then insulated everything with heatshrink, which gave me a tidy little plug I could plug into and remove the car's wiring loom more reliably and easily than simply pushing the resistor into the female terminals on the car's airbag wiring loom.
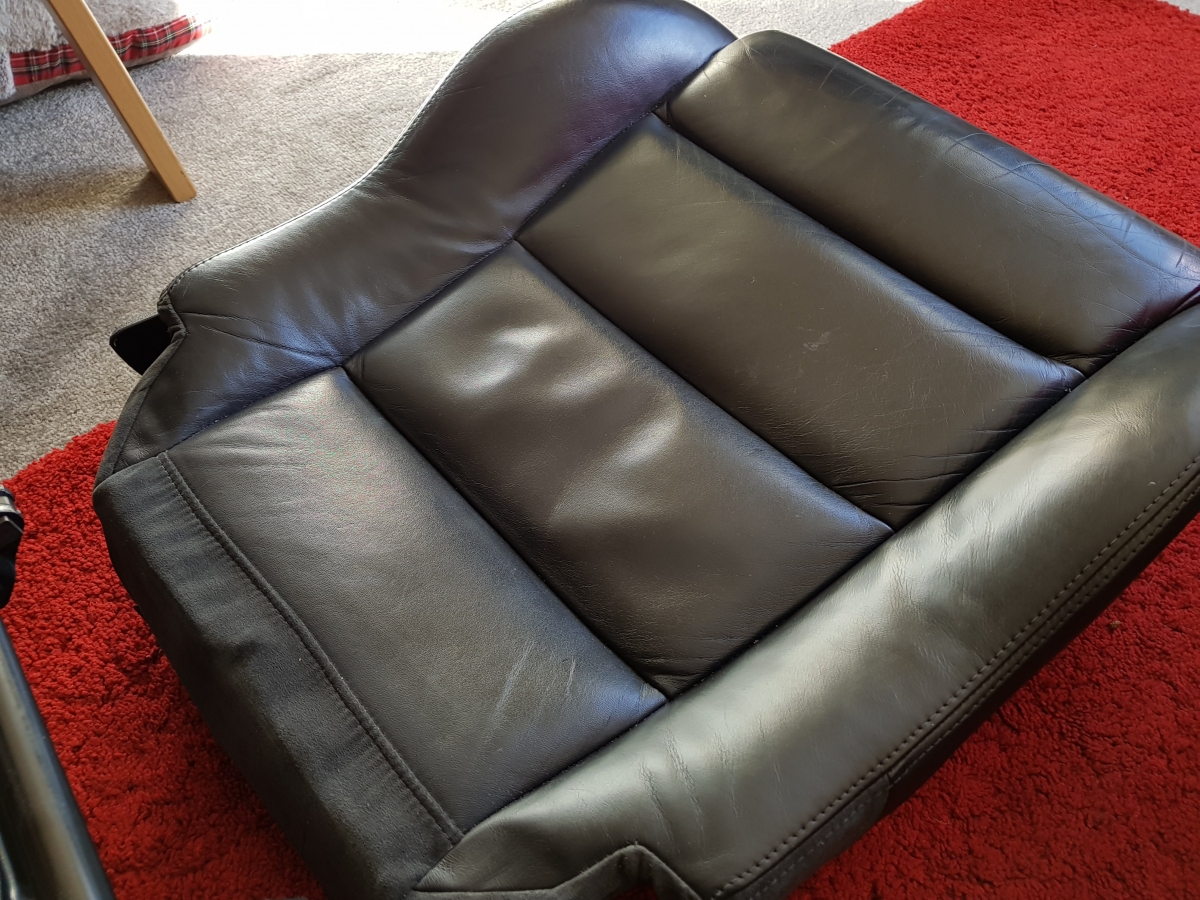
Heated Seats
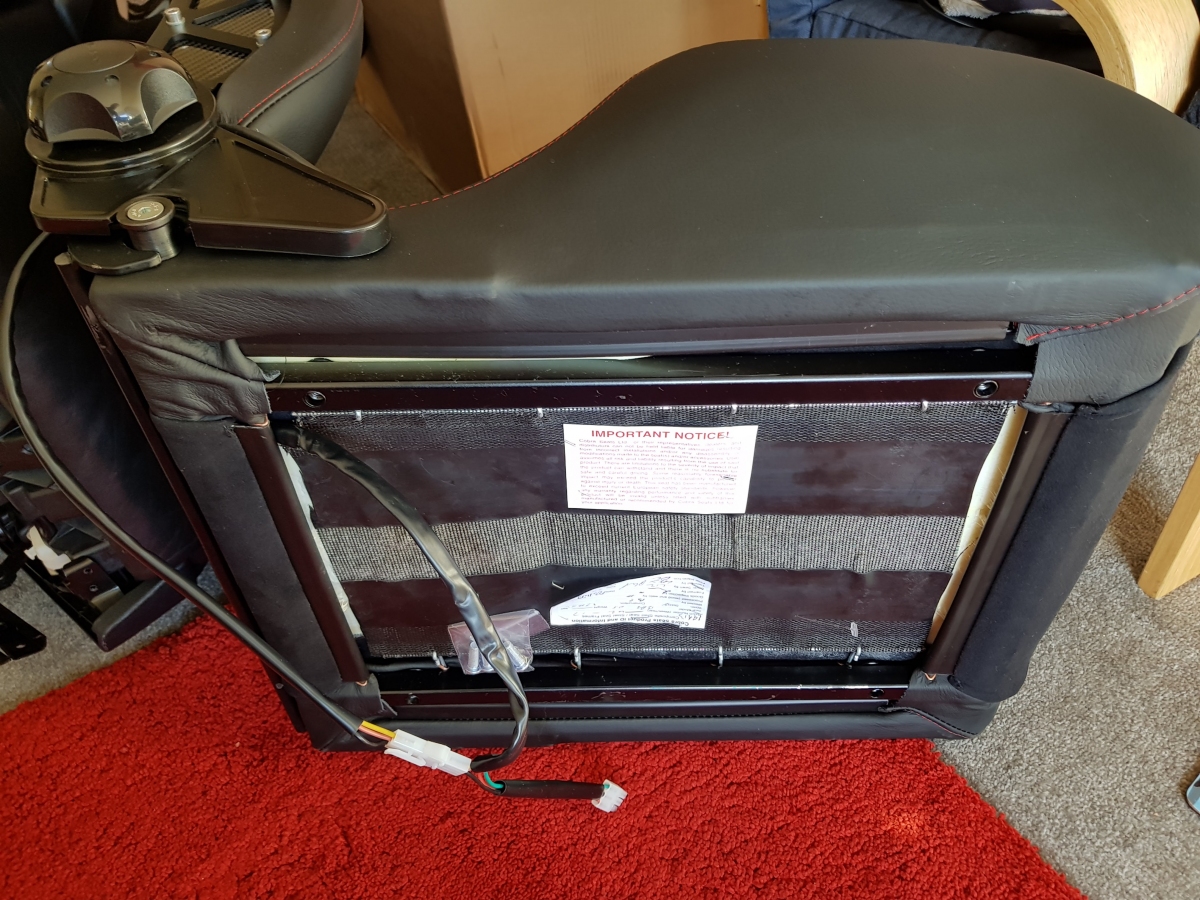
I had the seats built with heated pads in the back and base cushions, because Shed's original seats have heating fitted, and it would be a shame to lose this option.
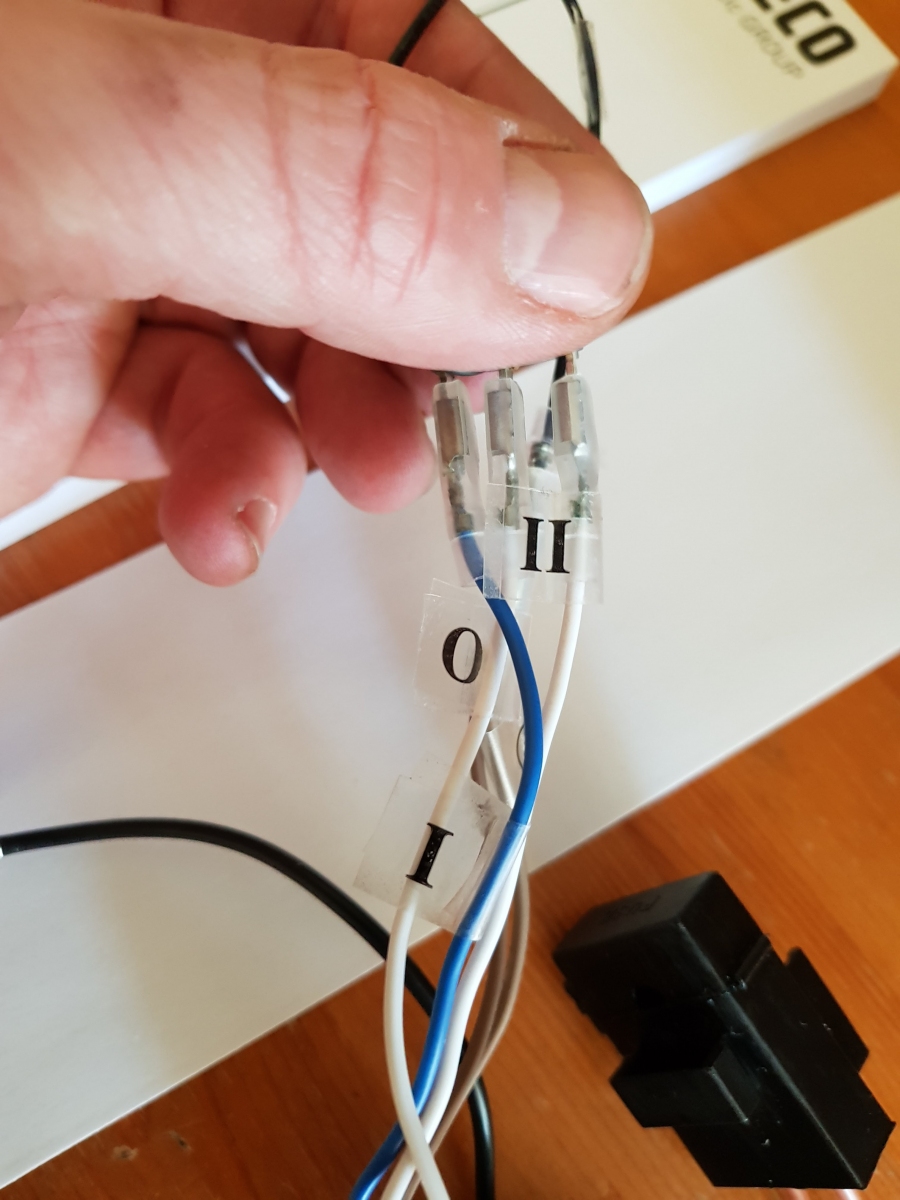
The seat pads fitted in the Cobra seats were an aftermarket kit which came with a simple two-position switch, one for half heat, and the other for full heat. However, the Audi heated seats system uses a temperature sensor to detect how hot the seat is to regulate the seat temperature.
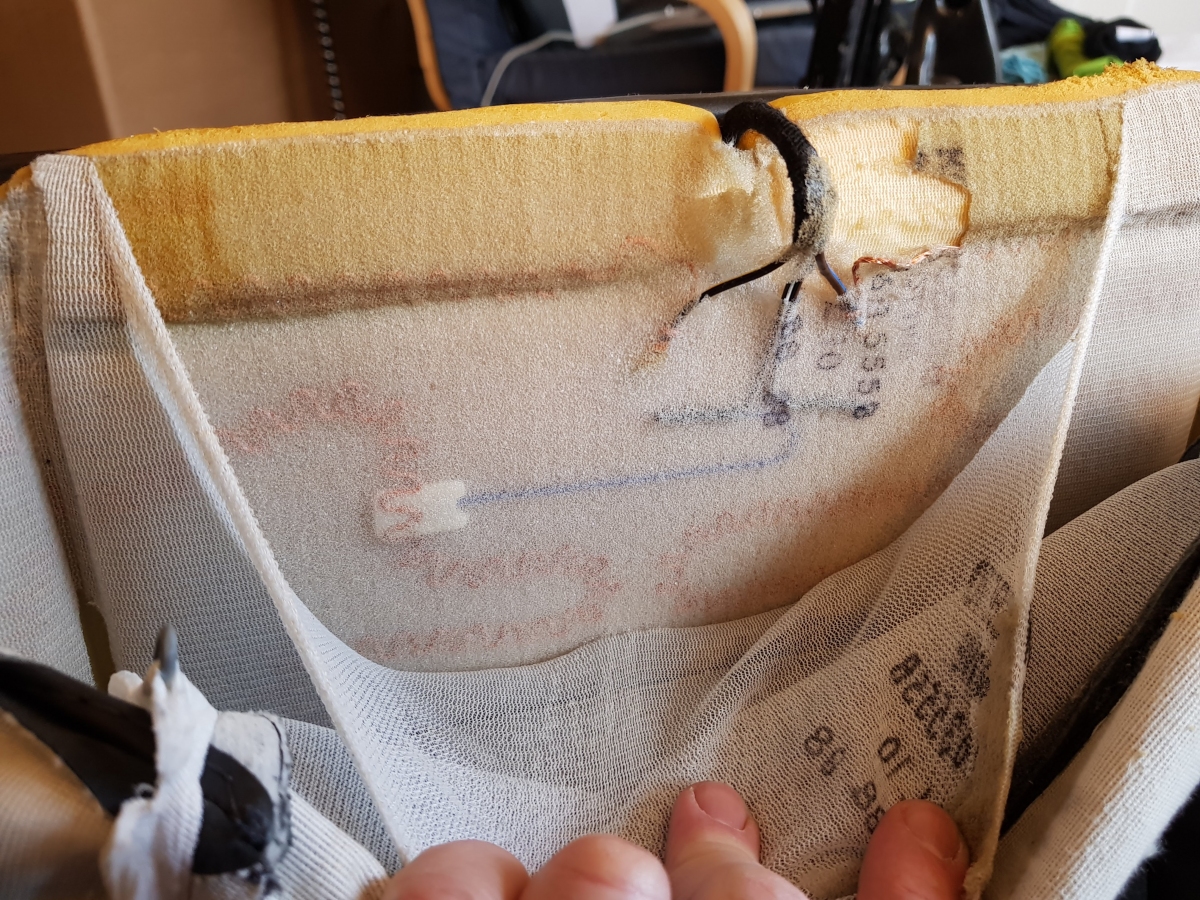
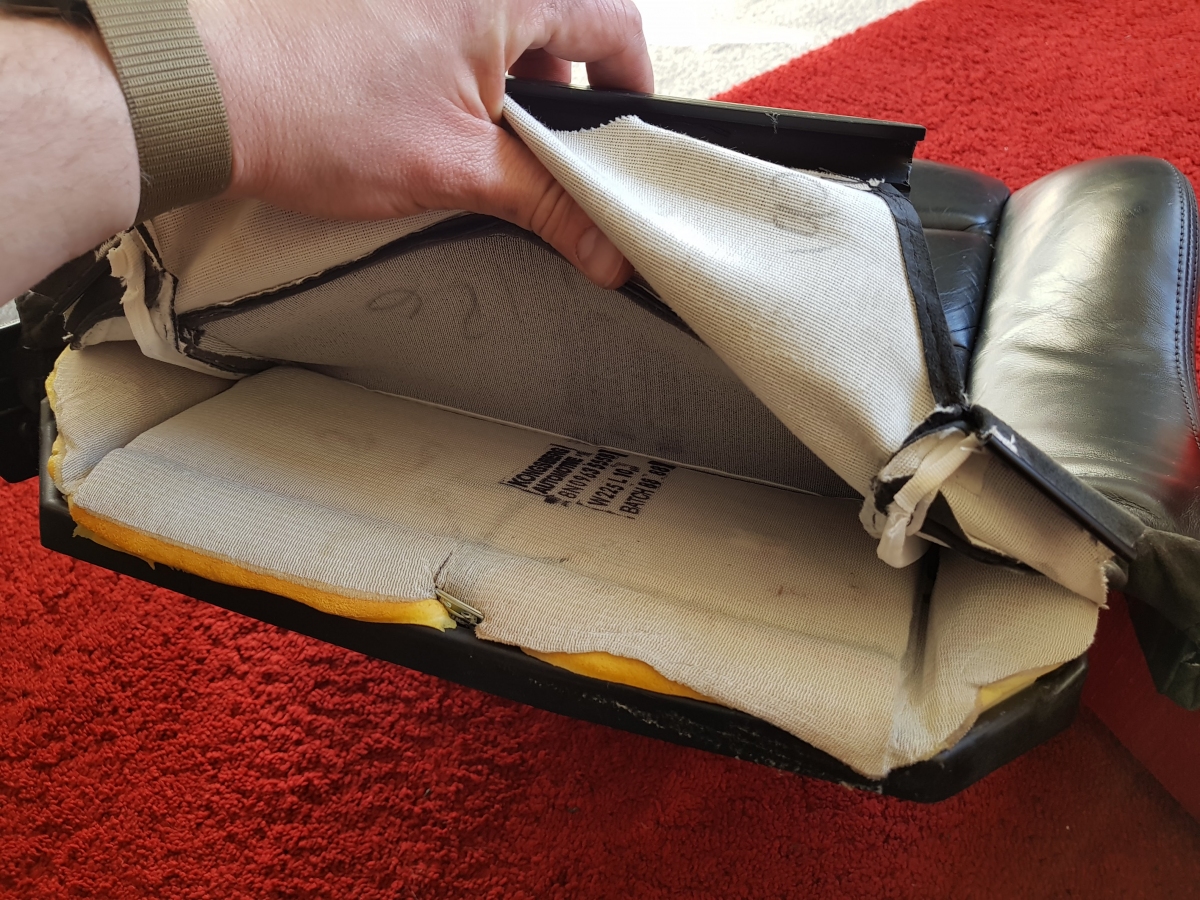
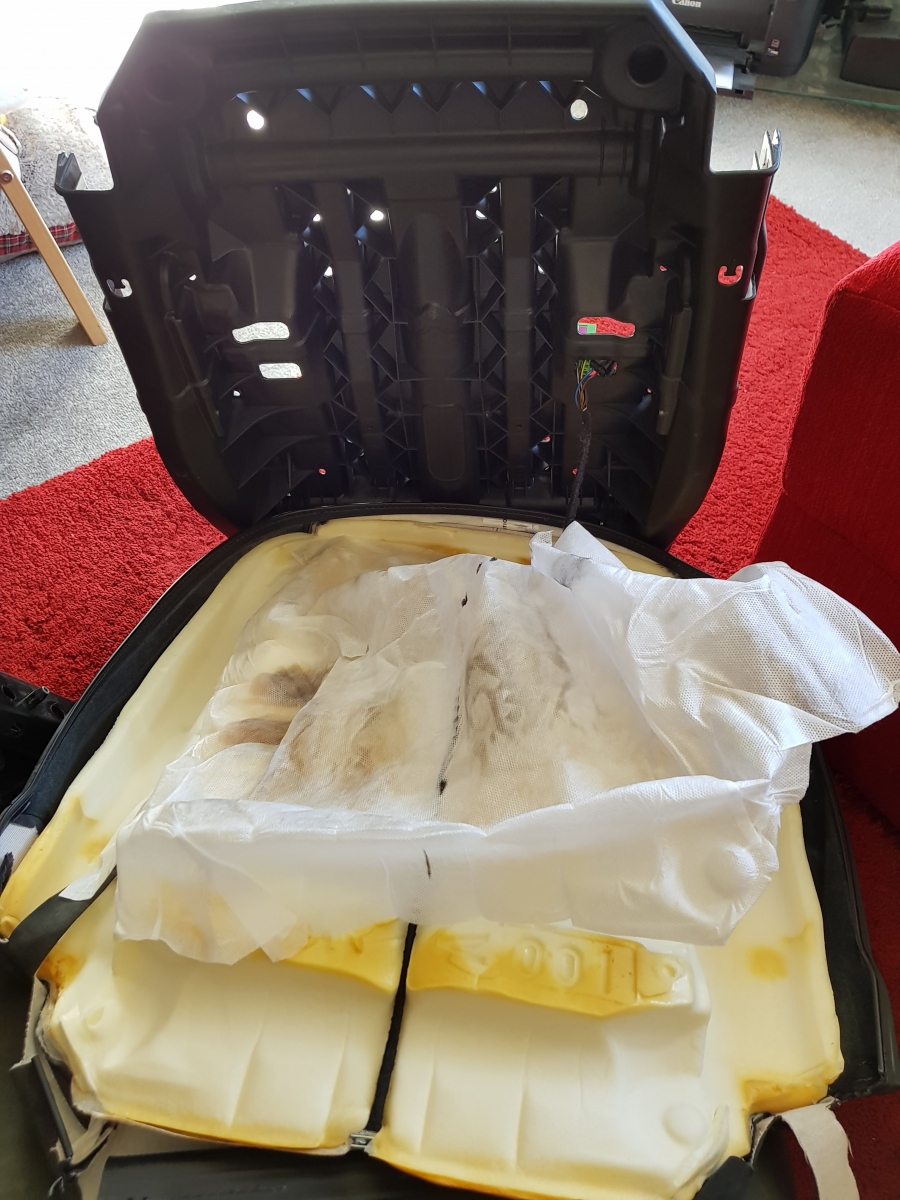
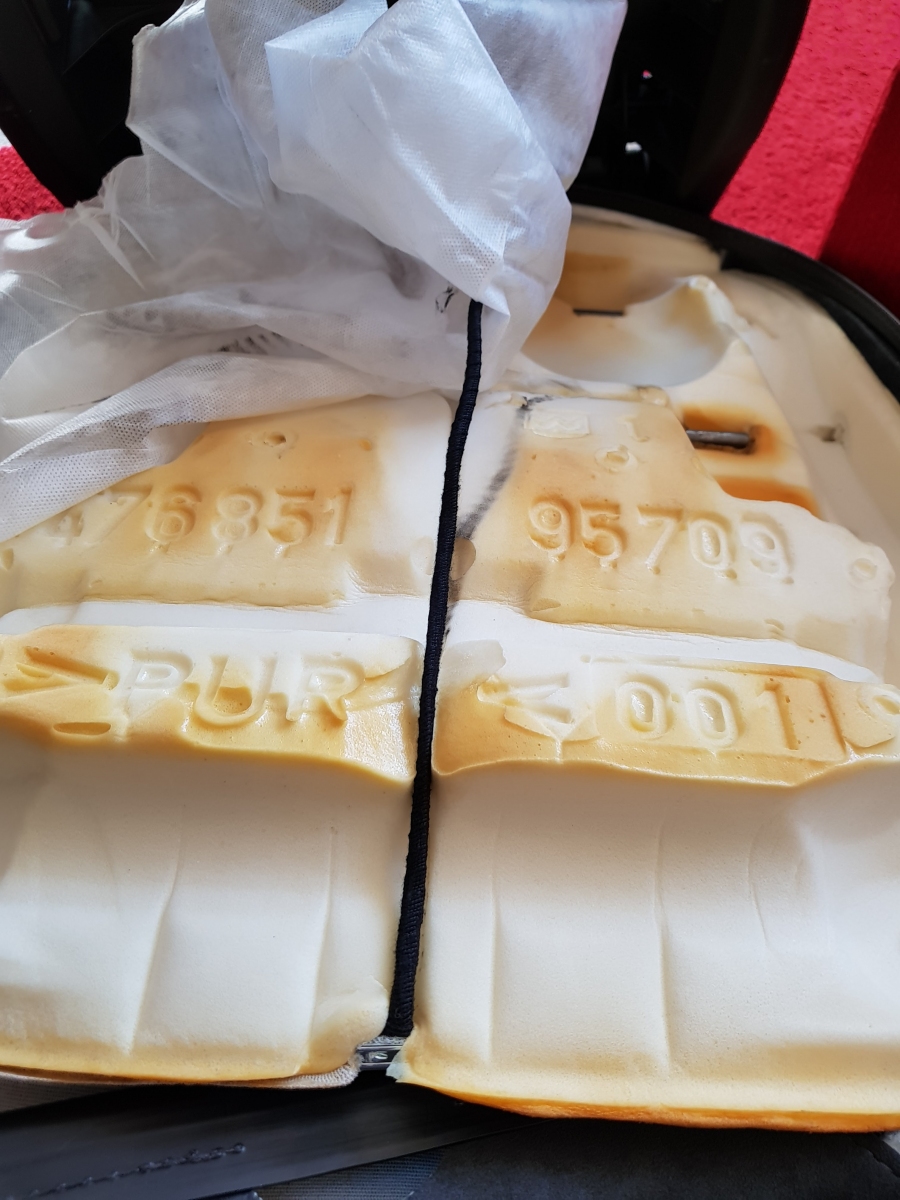
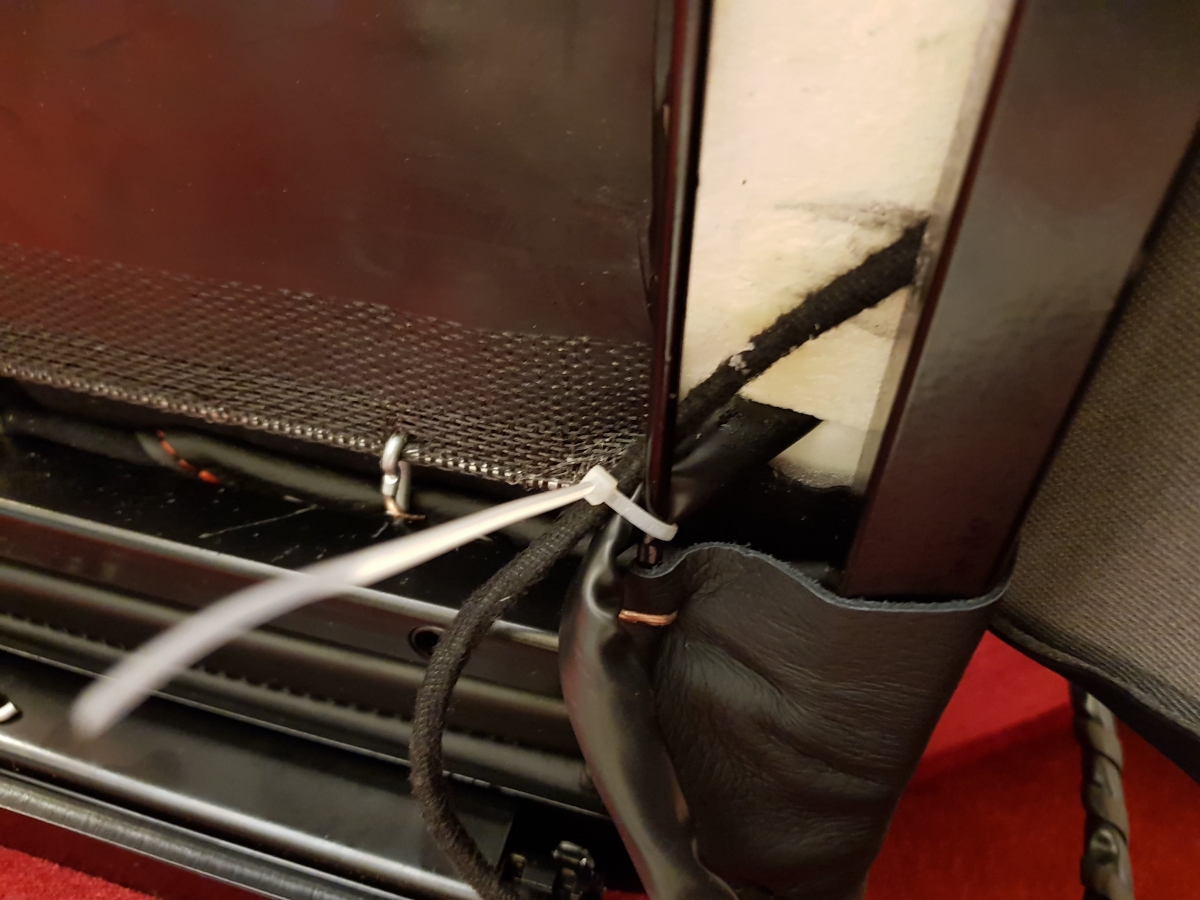
Converting the new seats to use the Audi system was relatively easy; I just had to dismantle the Audi seats' base cushion enough to extract the temperature sensor, which I then fitted into the new seat bases as close to the OEM position underneath the heated seat pad wiring as possible.
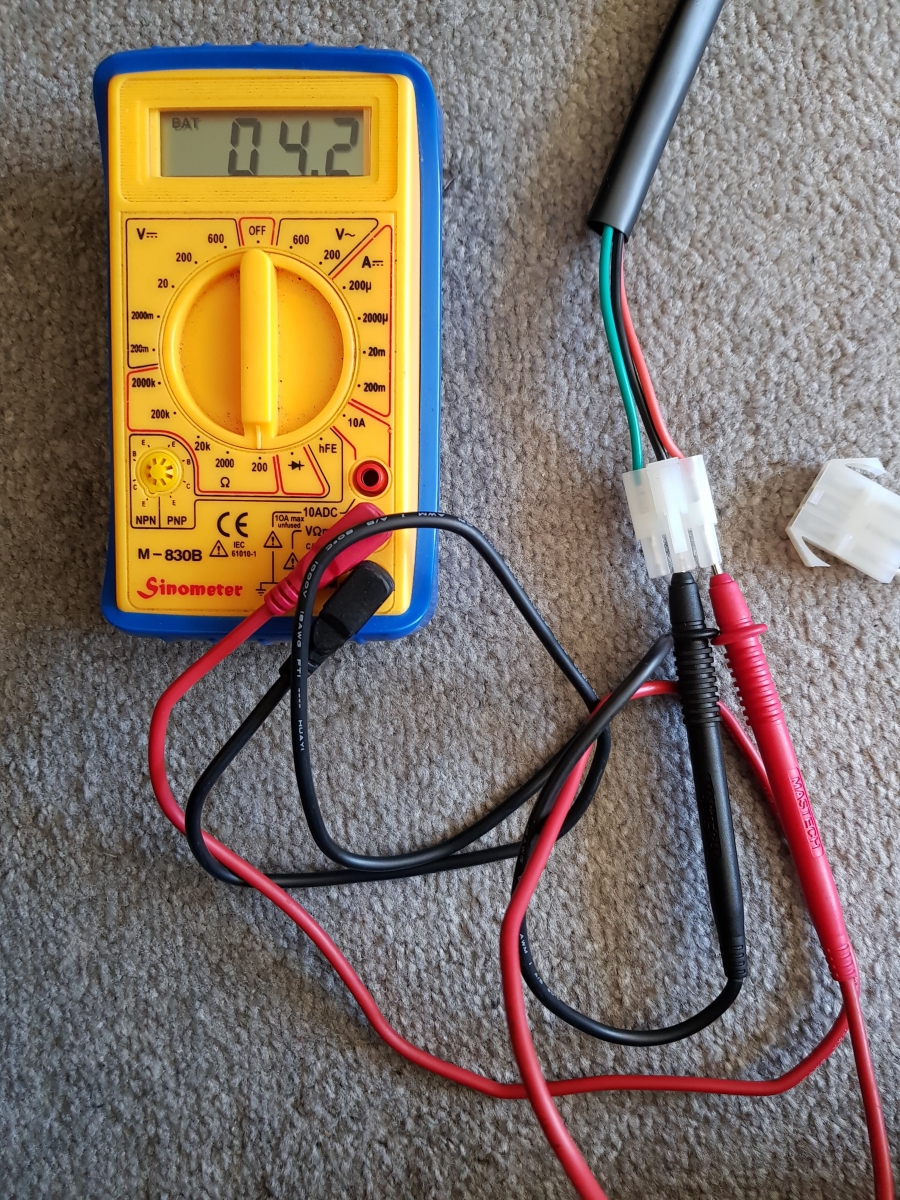
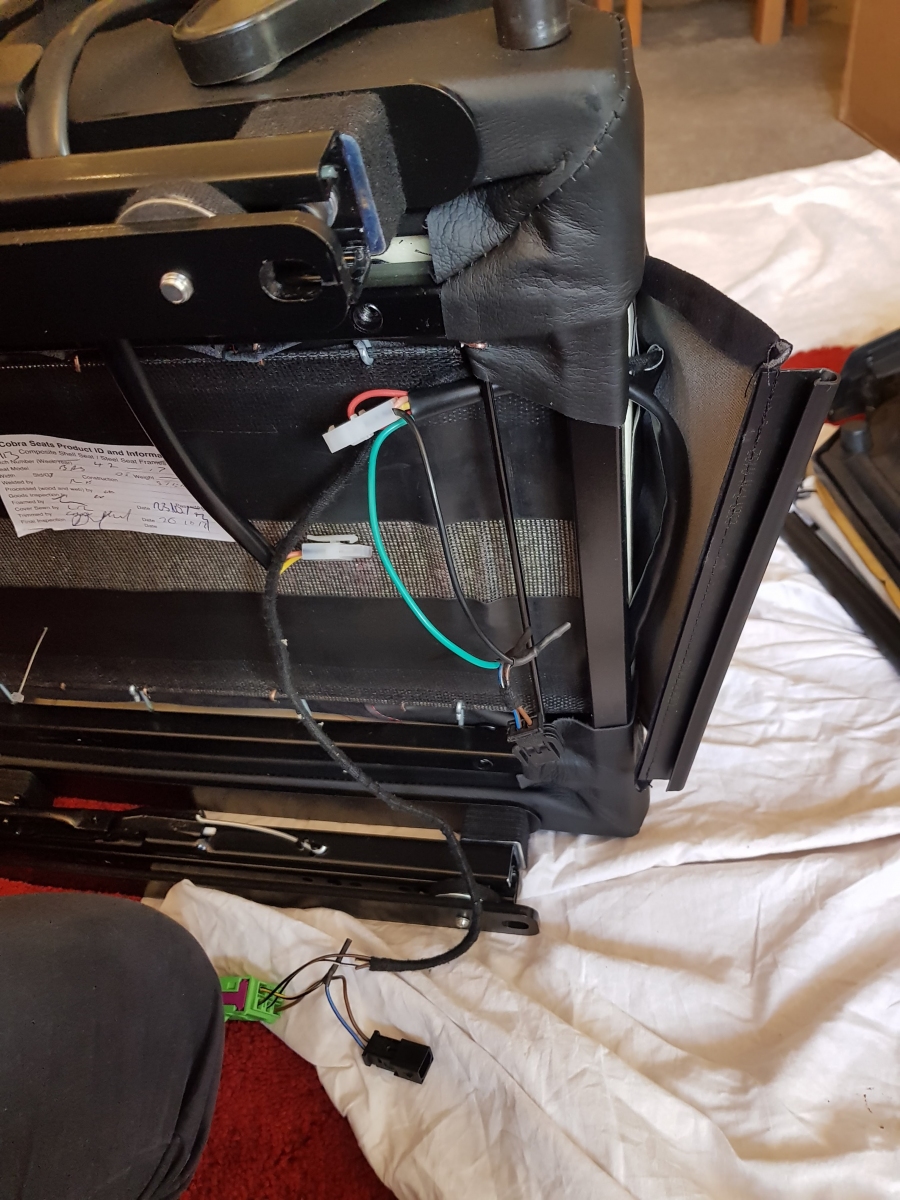
With the sensor fitted, I then migrated over the Audi wiring connector, tidied up the wiring, and ran a couple of quick continuity and resistance checks to confirm that everything was connected properly, and that part was done!
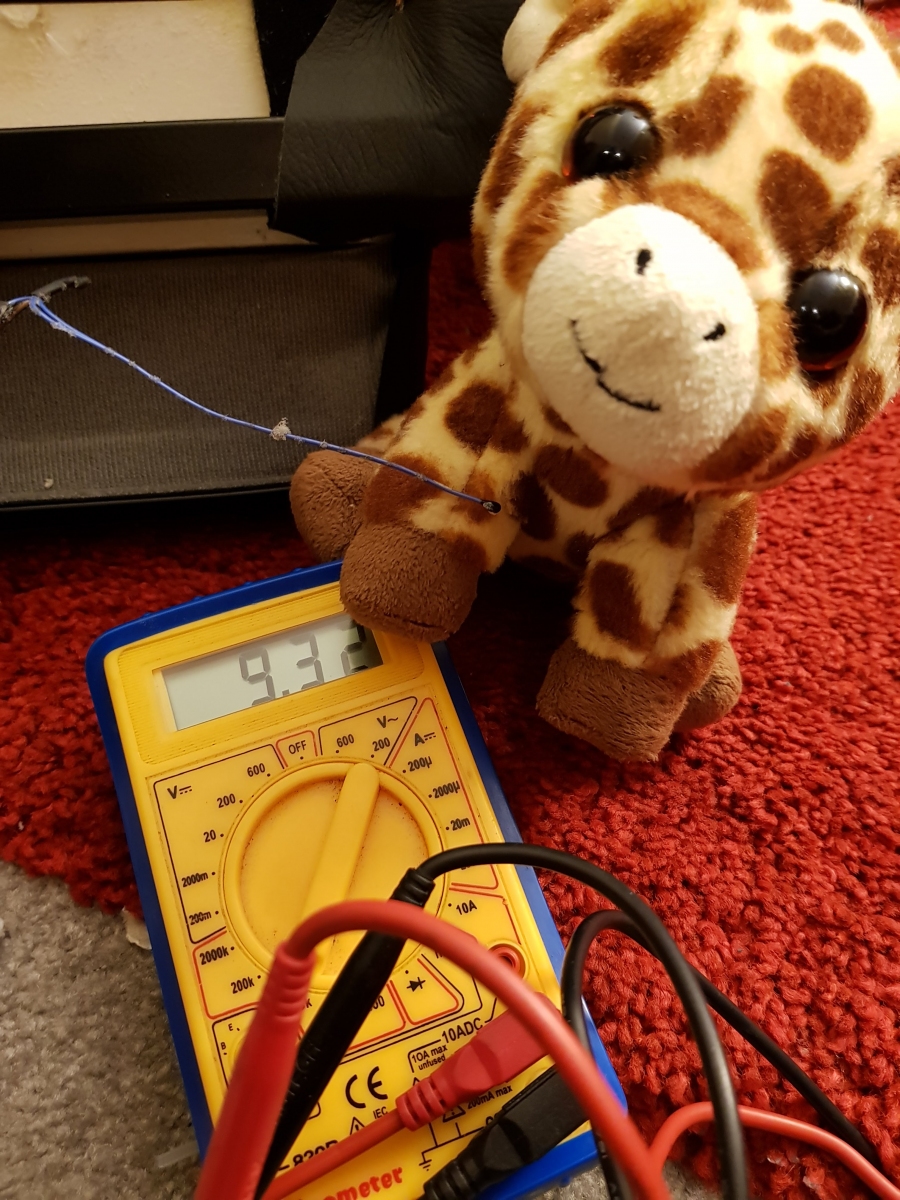
For reference, the temperature sensor used appeared to be a negative temperature coefficient ("NTC") thermistor, with a rating of 10K ohms at 15 degrees Centigrade - the sensor was one of the tiny jobbies with a roughly-1mm-diameter head which you can get for a few pence on eBay, Aliexpress, etc.


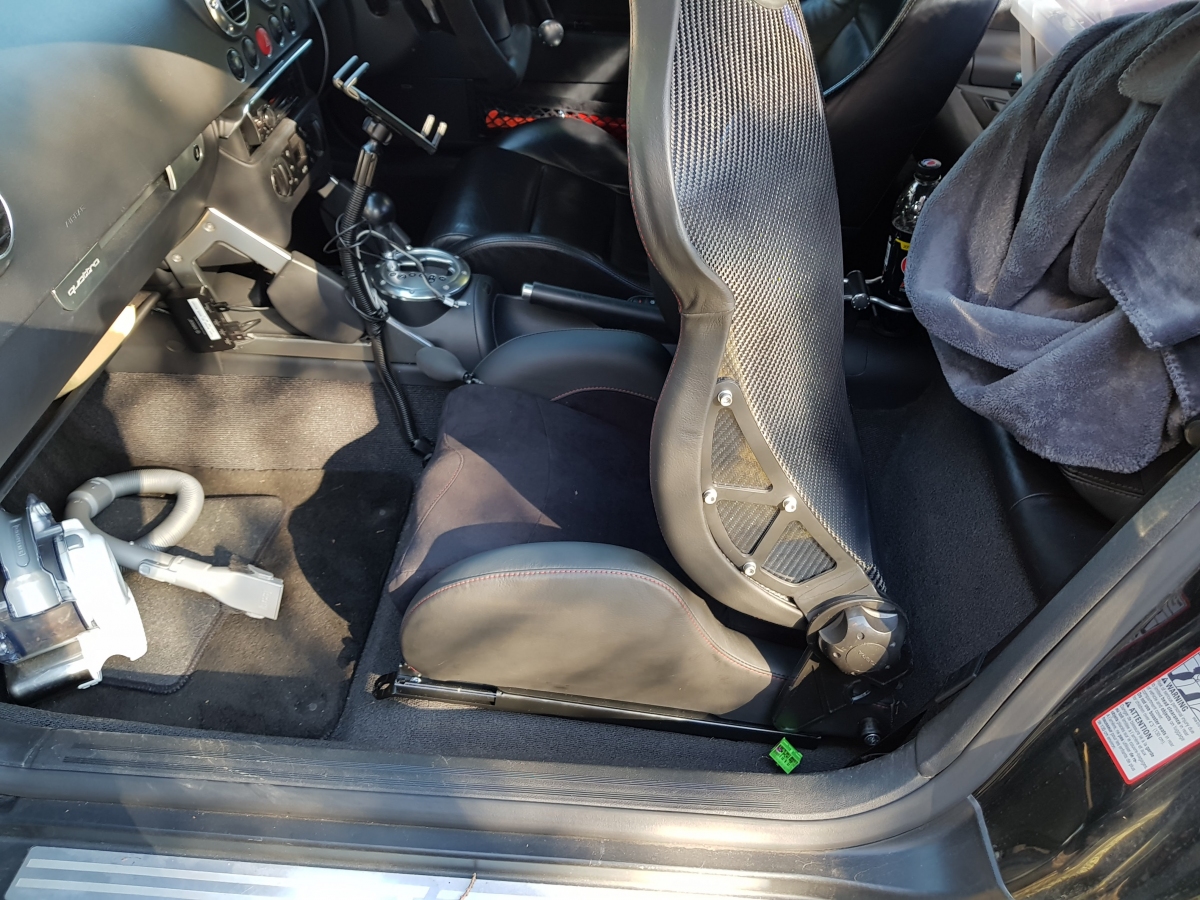
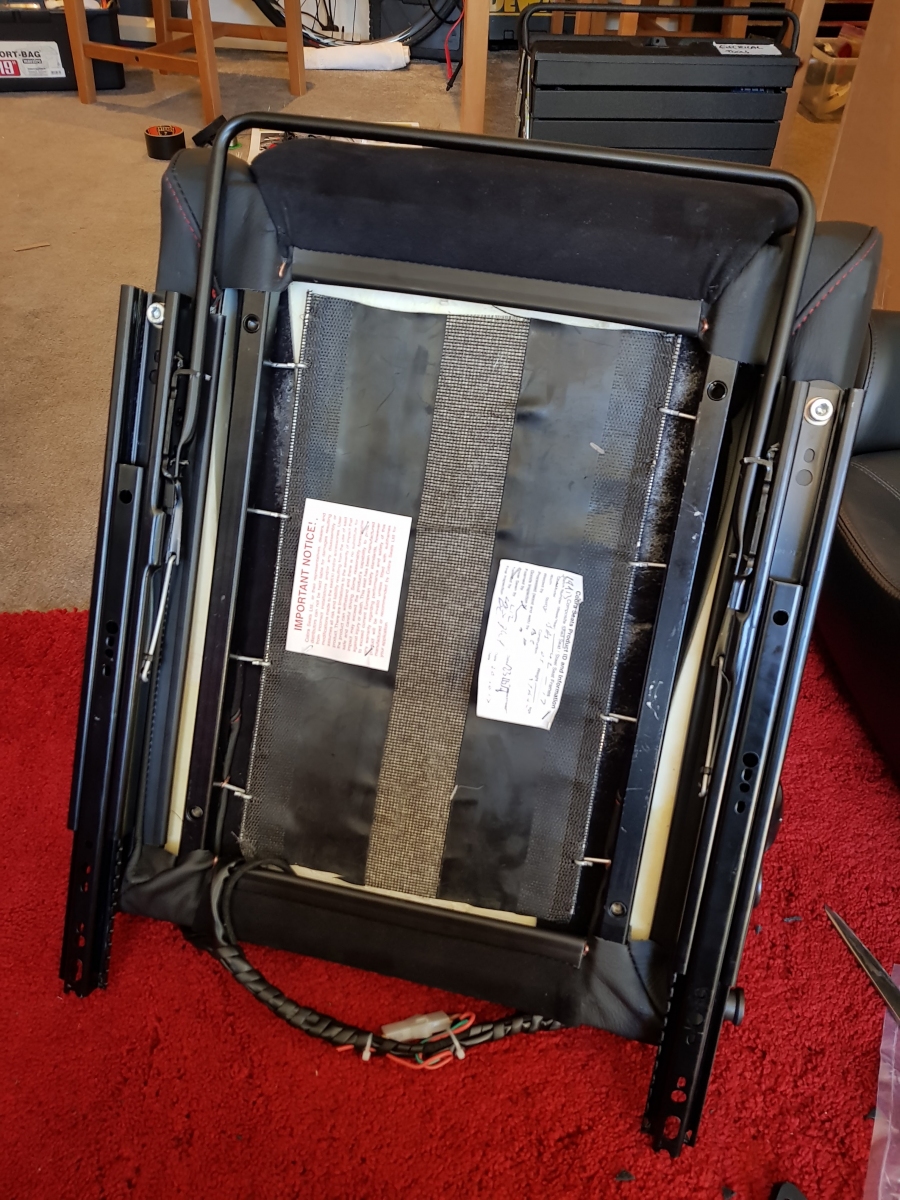
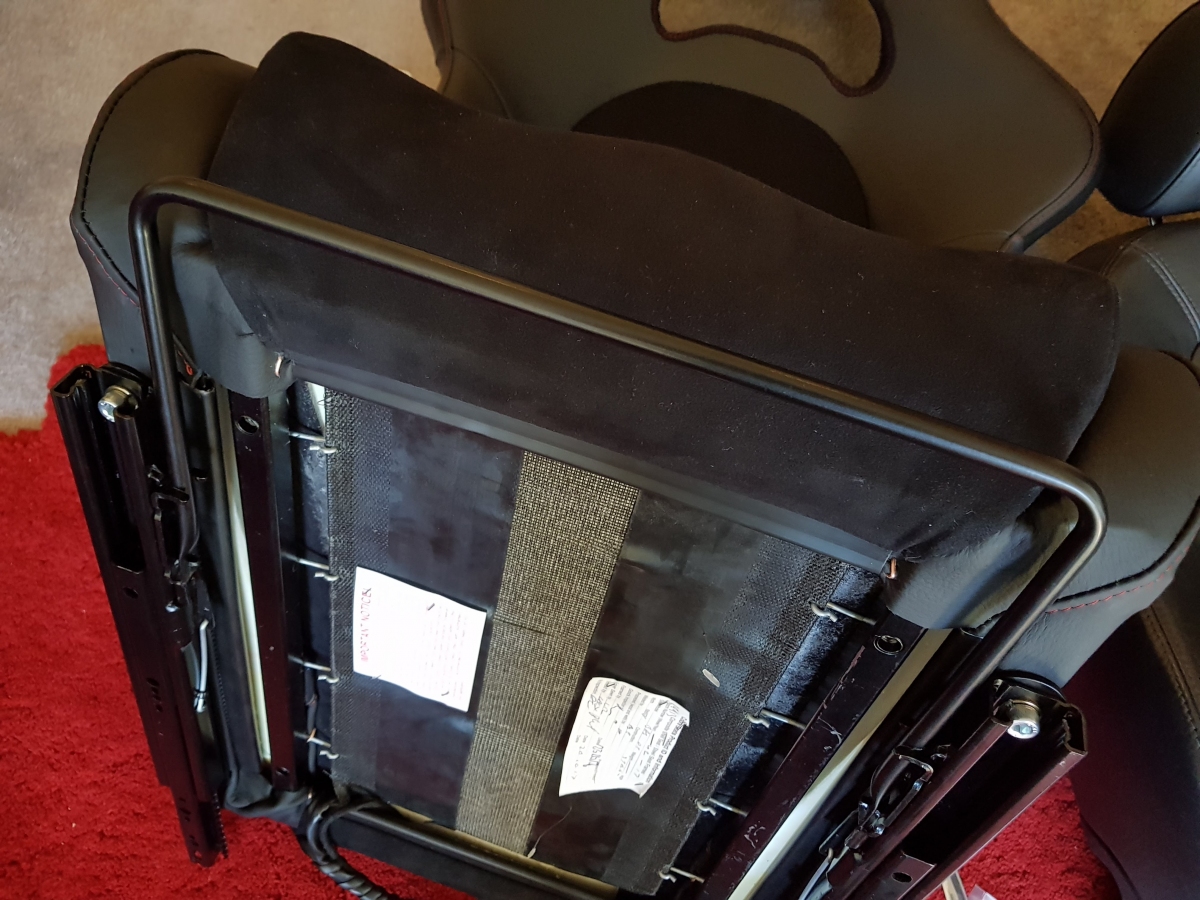
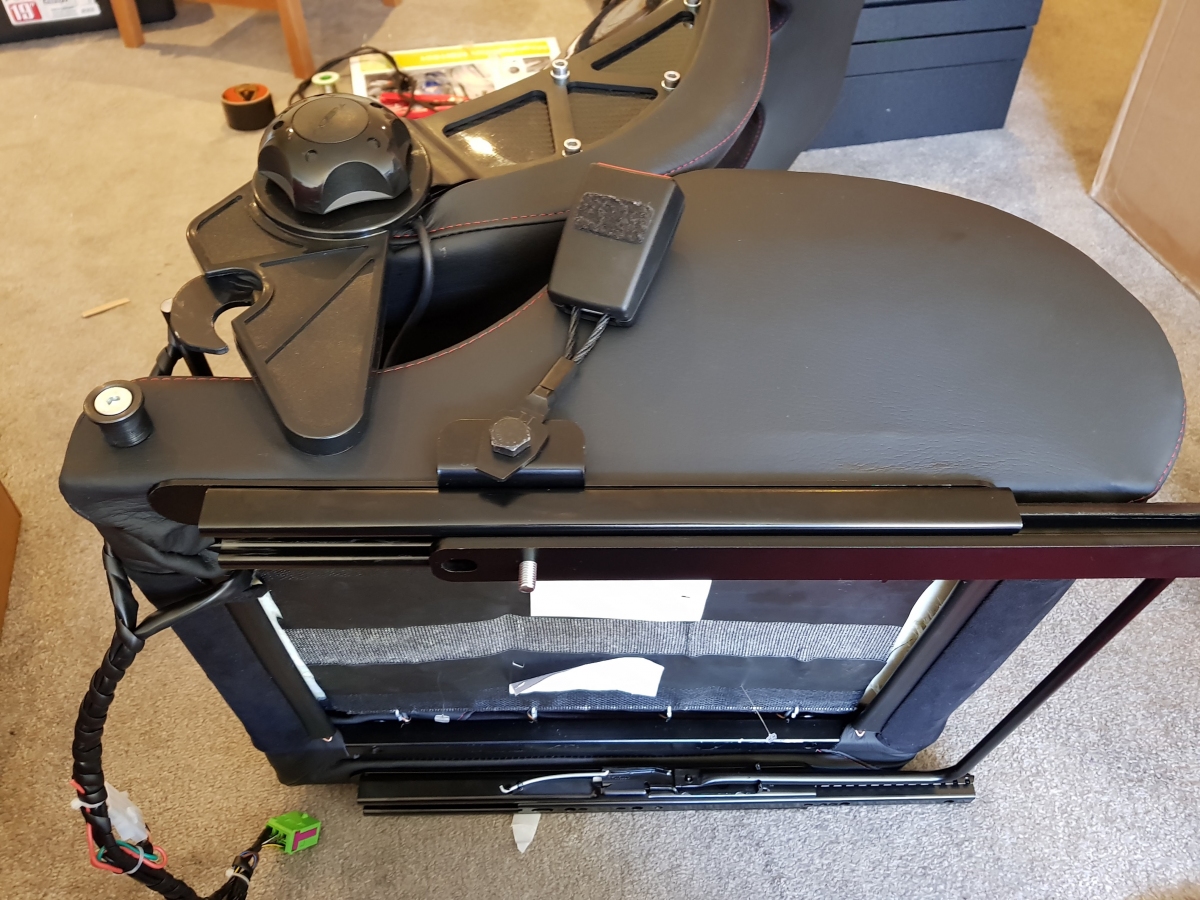
Mounting Frames
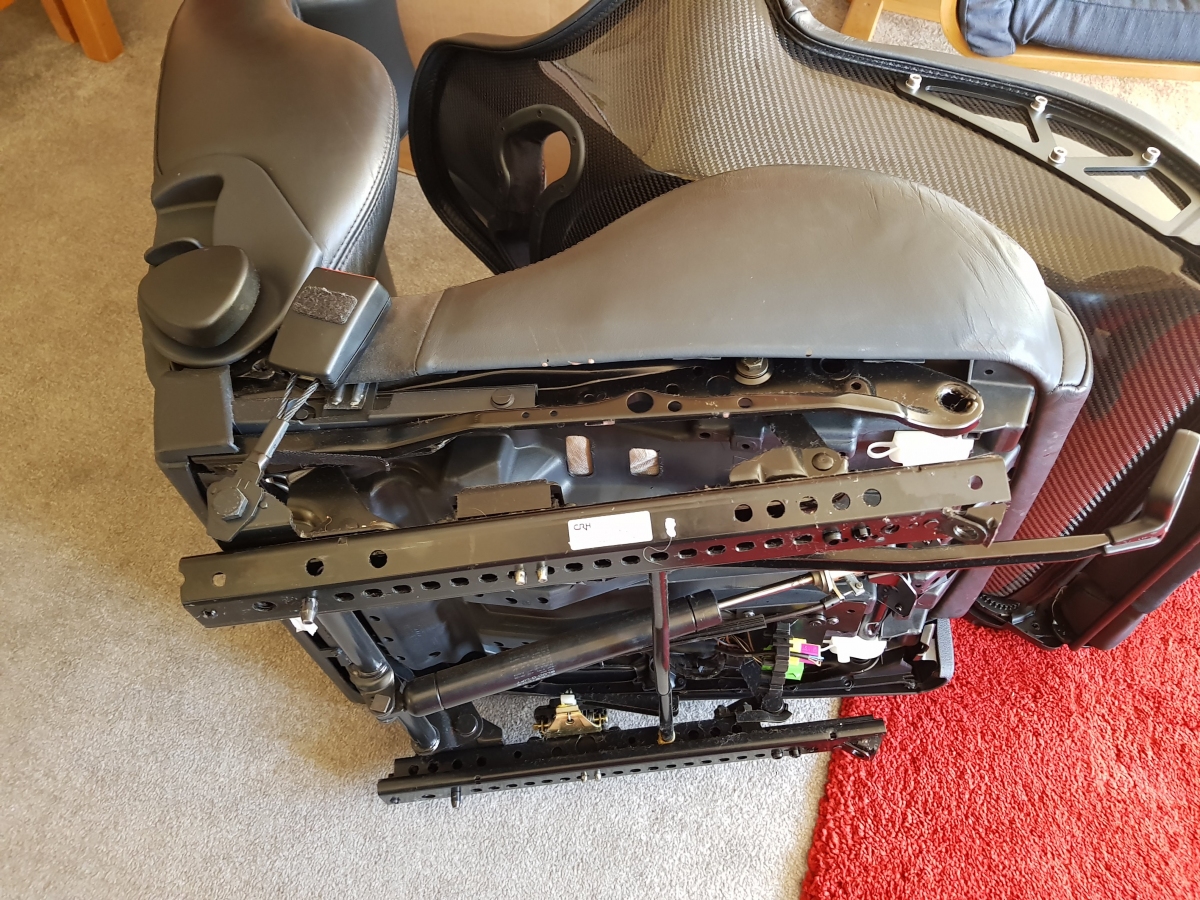
The last job was to bolt up the mounting frames to the seats. These consisted of two forward/back adjuster runners, metal bars which bolt to the car's floorpan and onto which the runners bolt, and then another pair of bars which go between the runners and the seat base. Lastly, there was a U-shaped bar which slots in-between the runners which you pull upwards on to move the seat forwards or backwards.
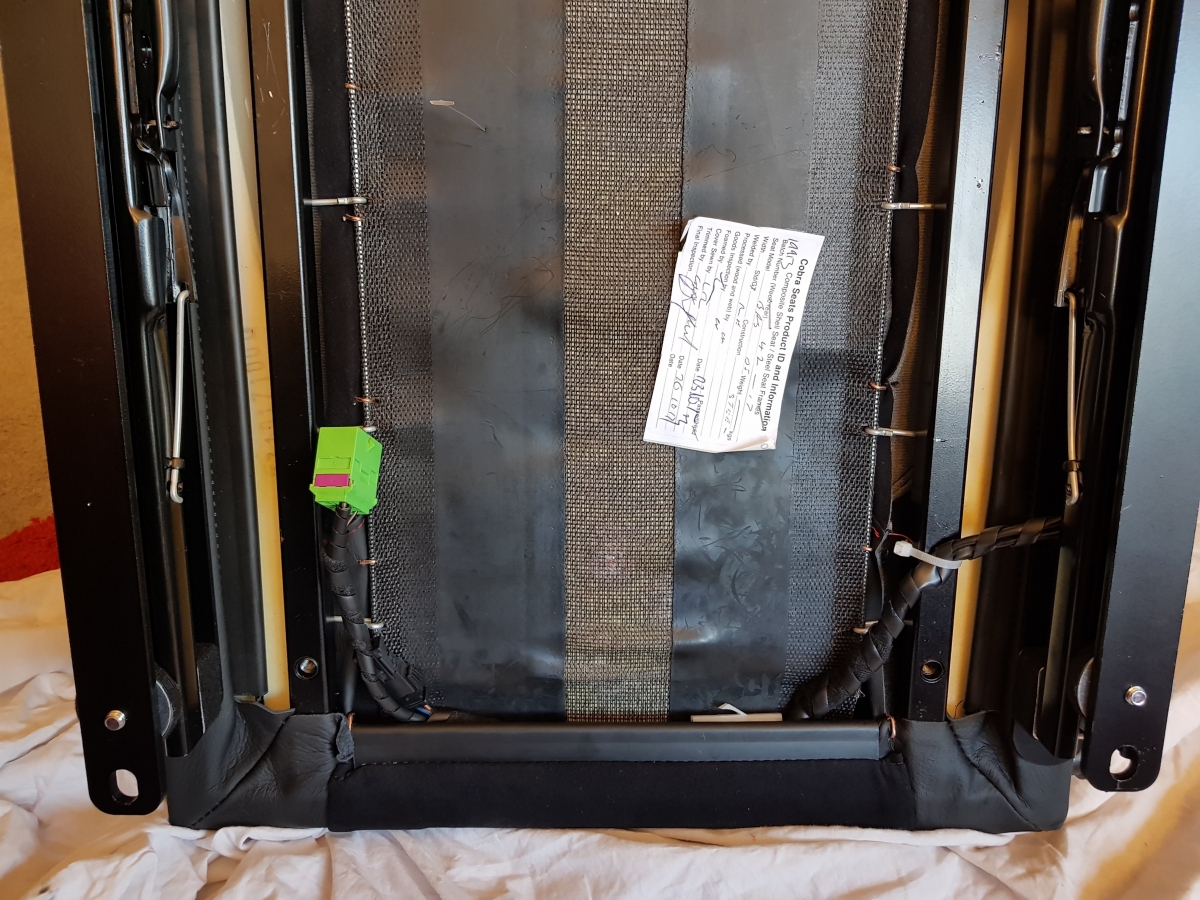
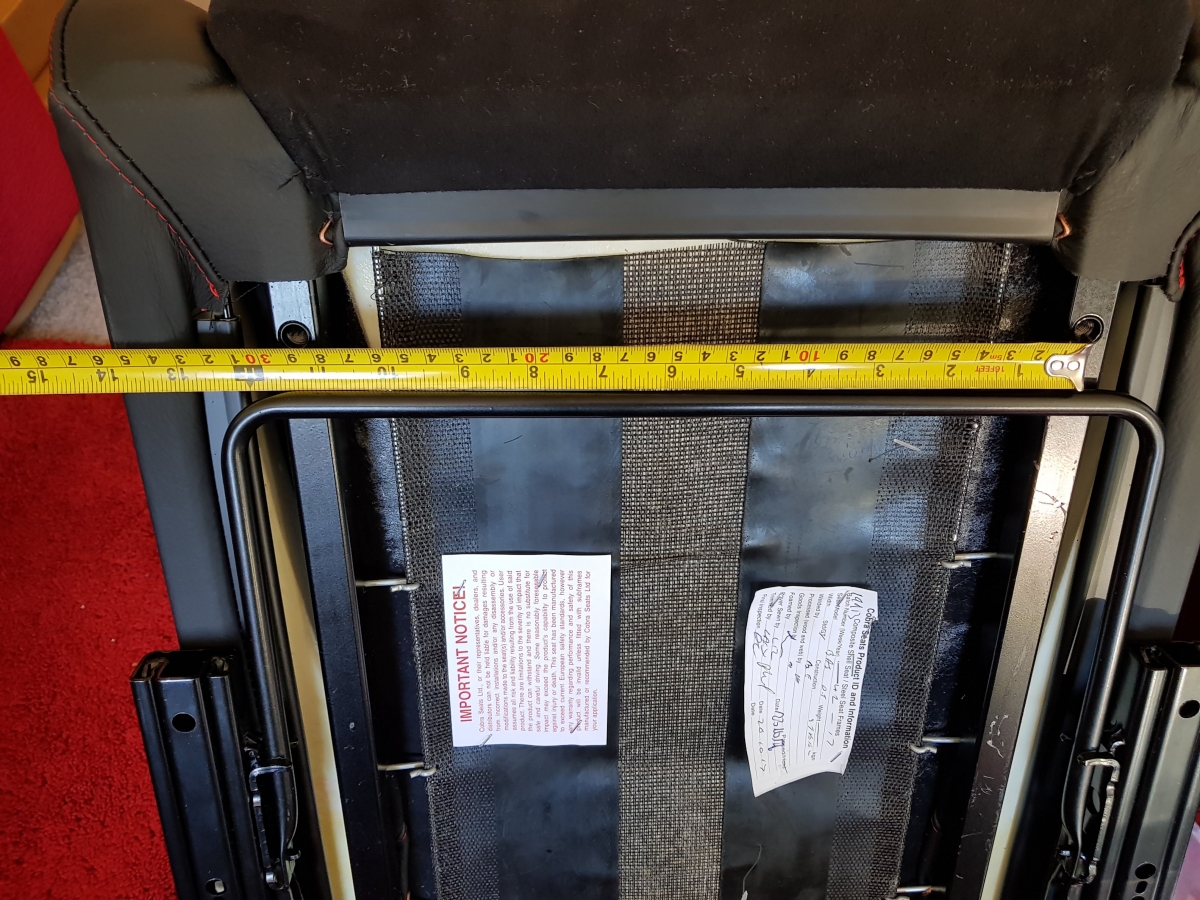
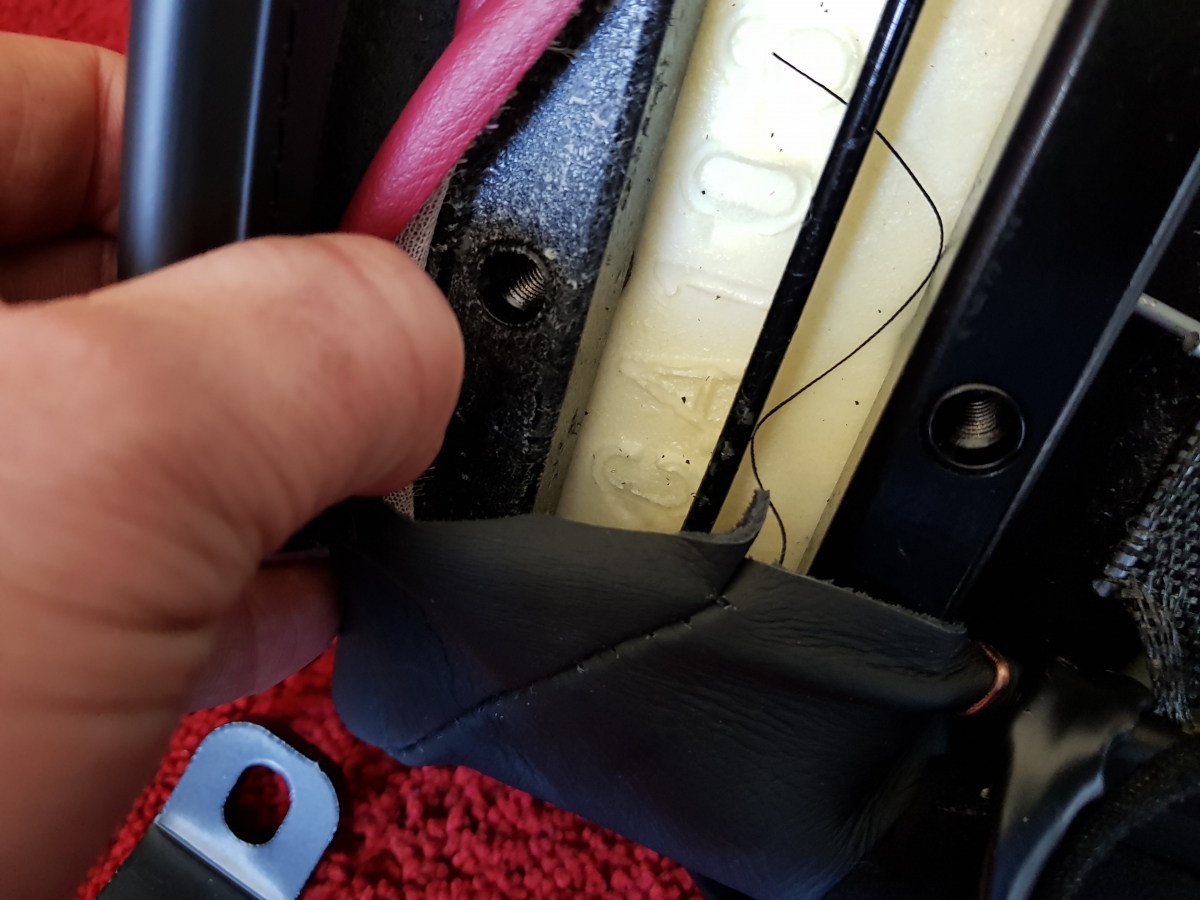
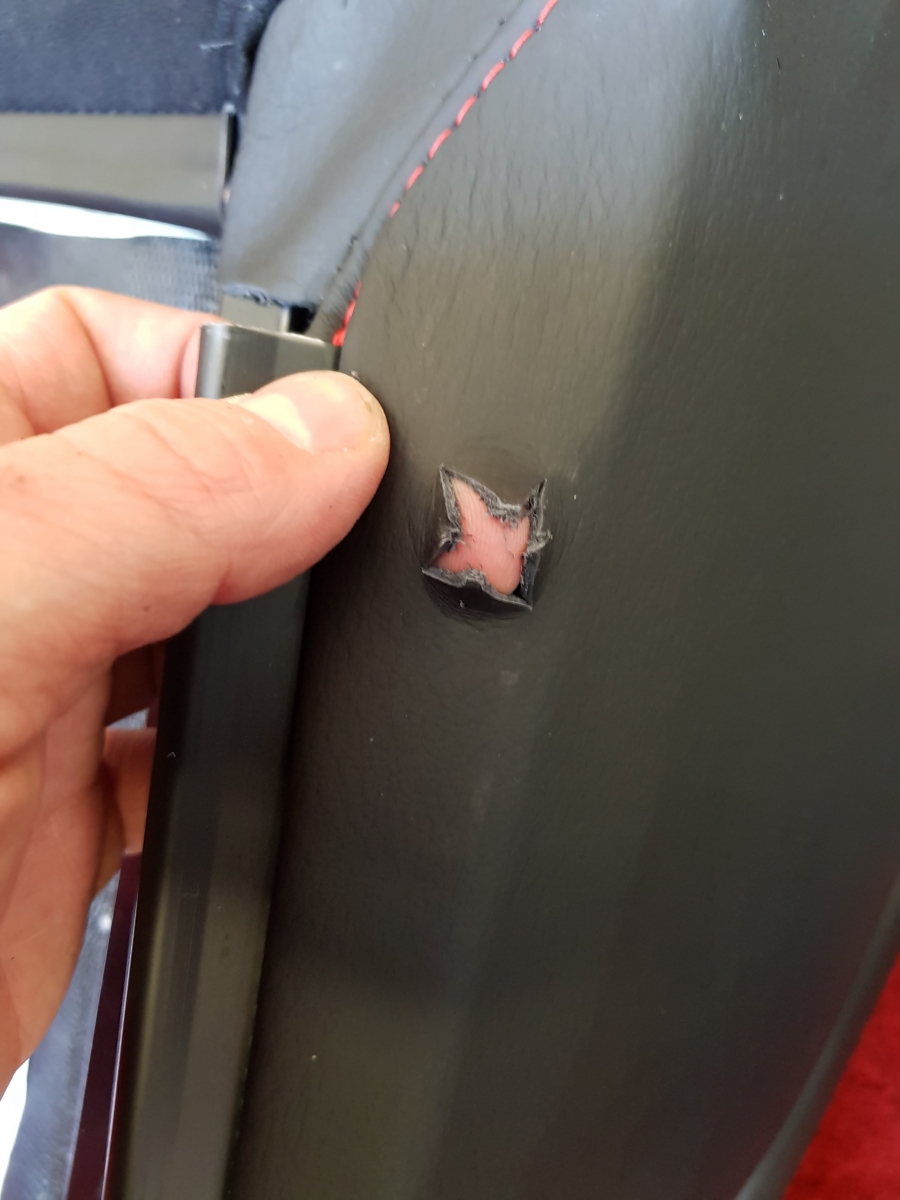
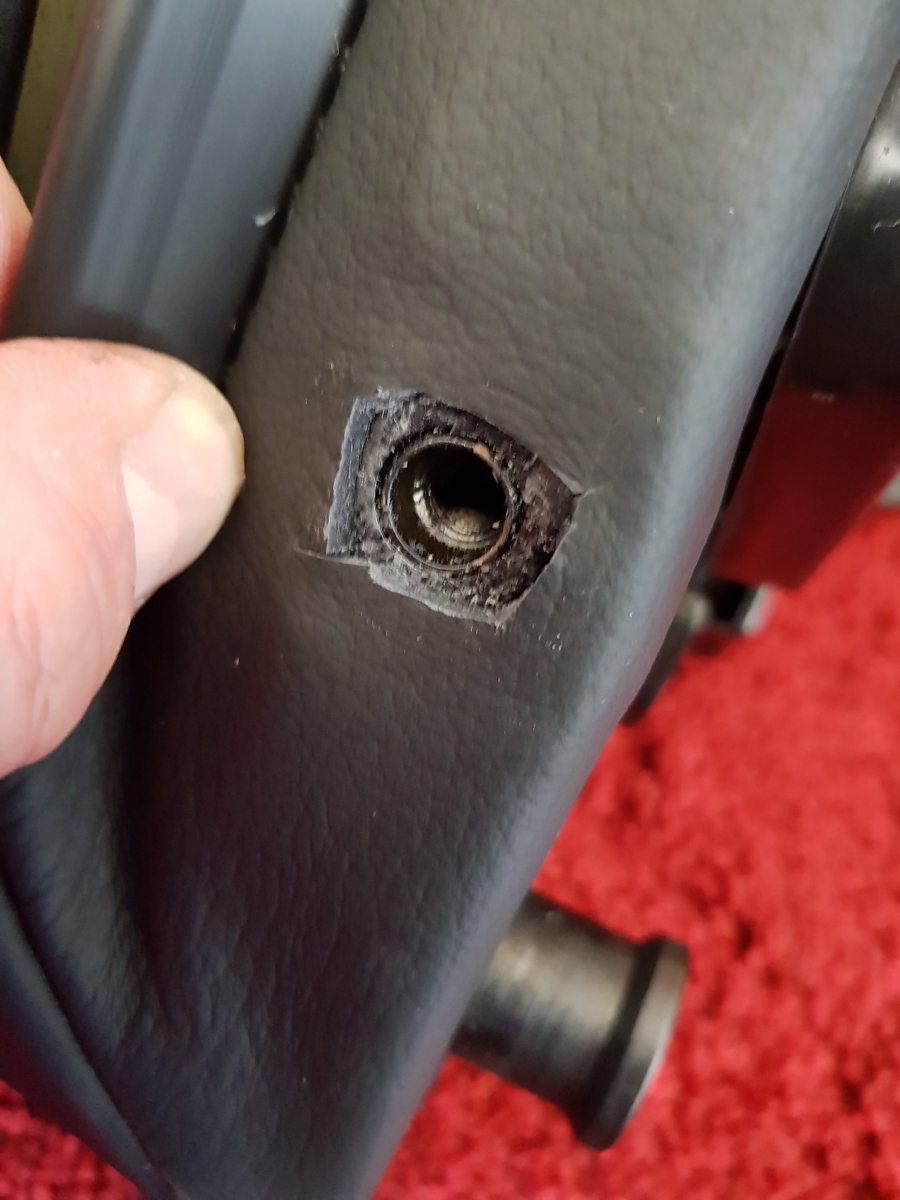
The first issue I encountered was that the Cobra seat frame has several threaded holes for the mounting gear to be bolted to, depending on the subframe type. One set were visible but these turned out to be the wrong mounting points, and the ones I needed were actually hidden under the seat leather, so I had to cut holes through the seats' lovely leather to get to these mounting holes. Eek.
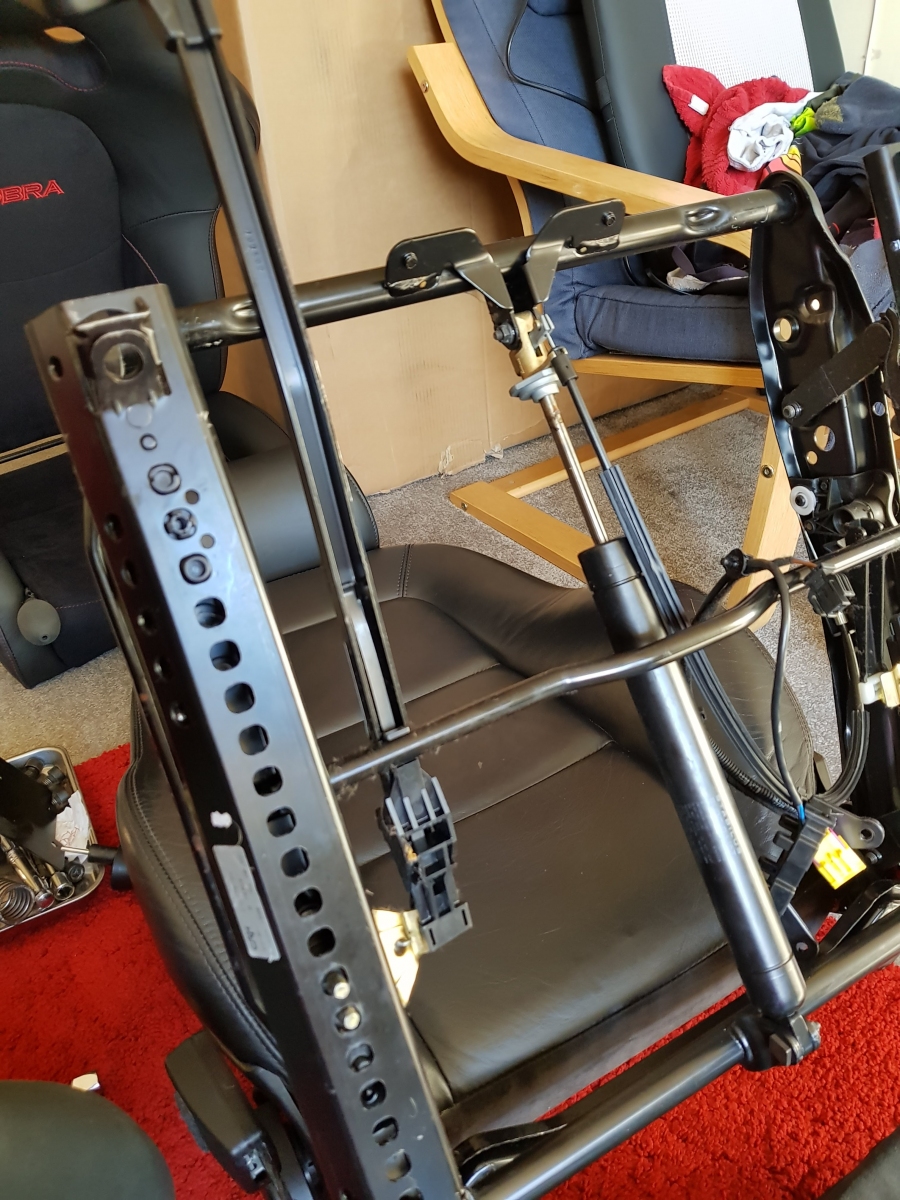
With that semi-bodge sorted, I then bolted up the runners and test-fitted a seat in the car.
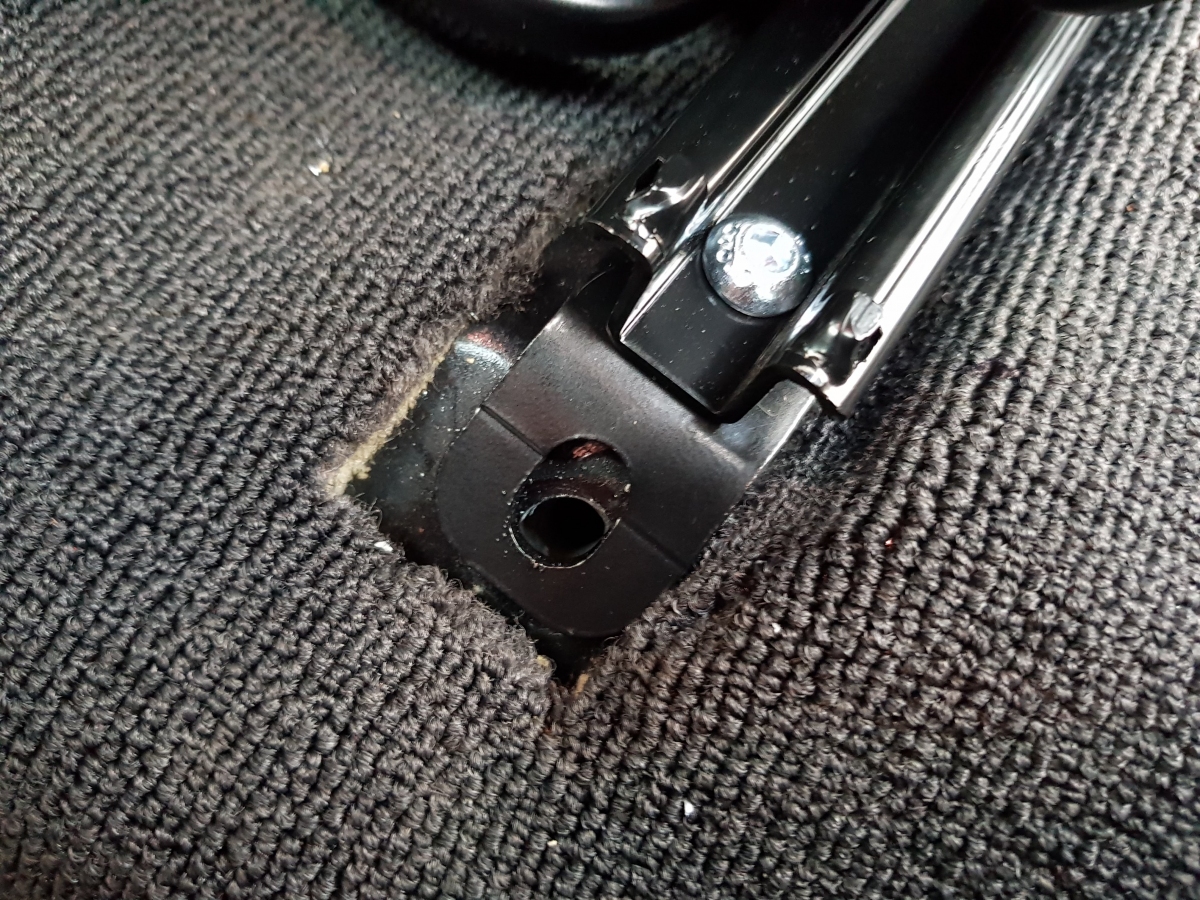
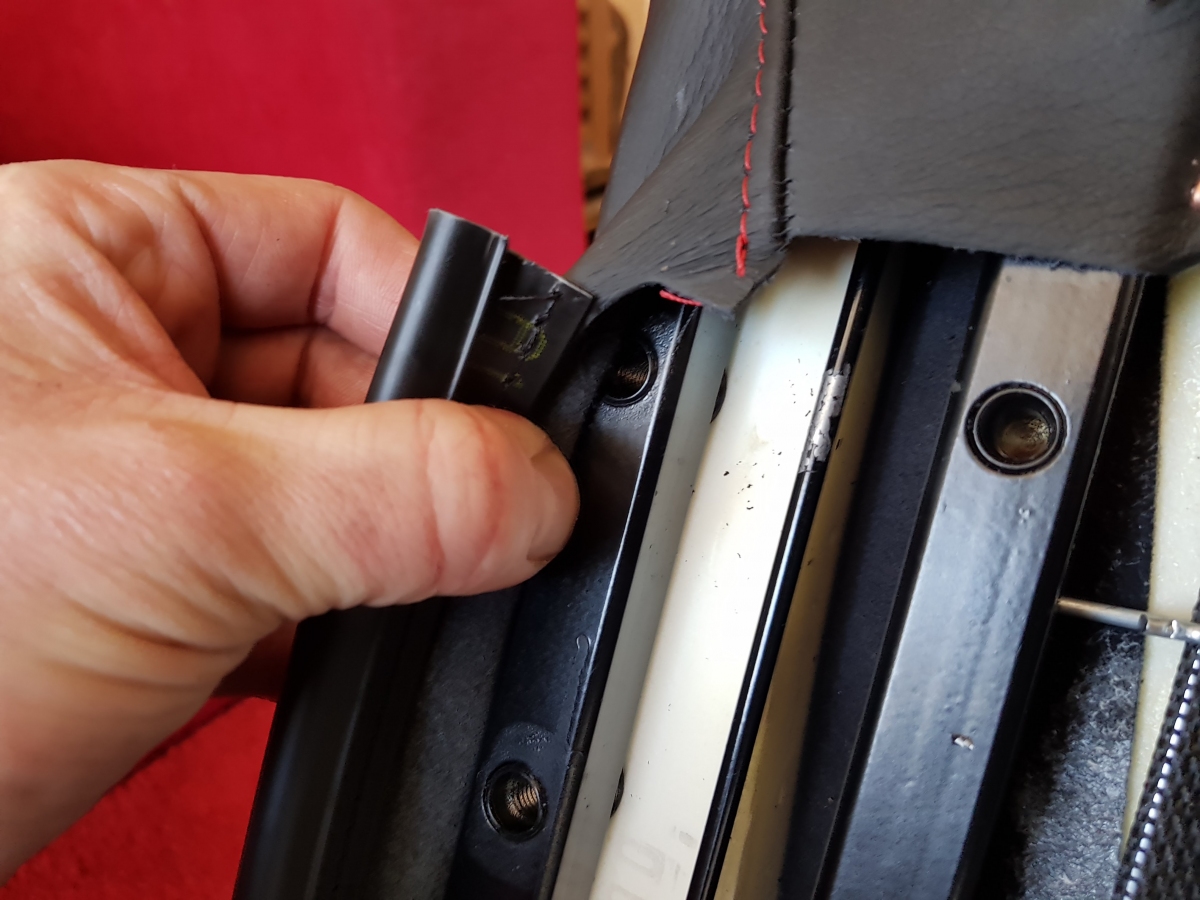
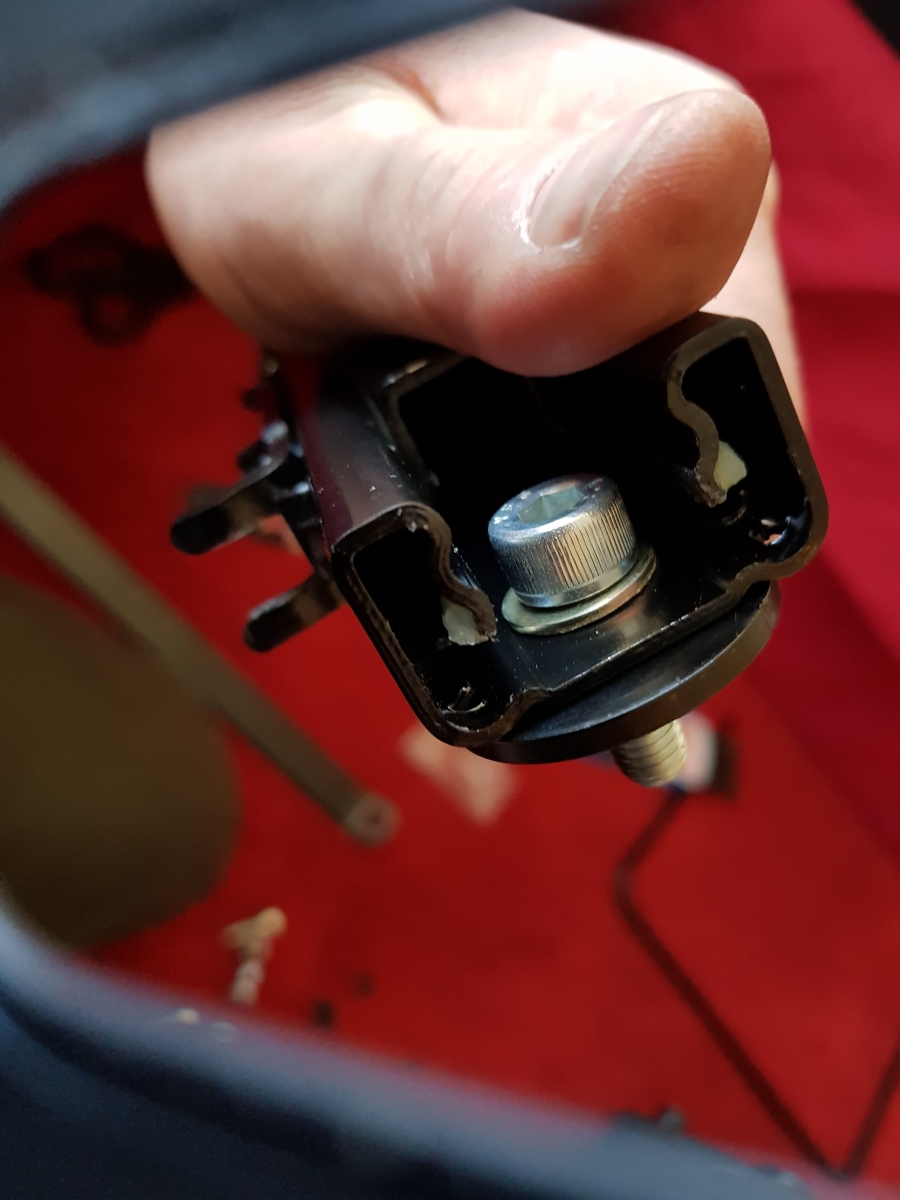
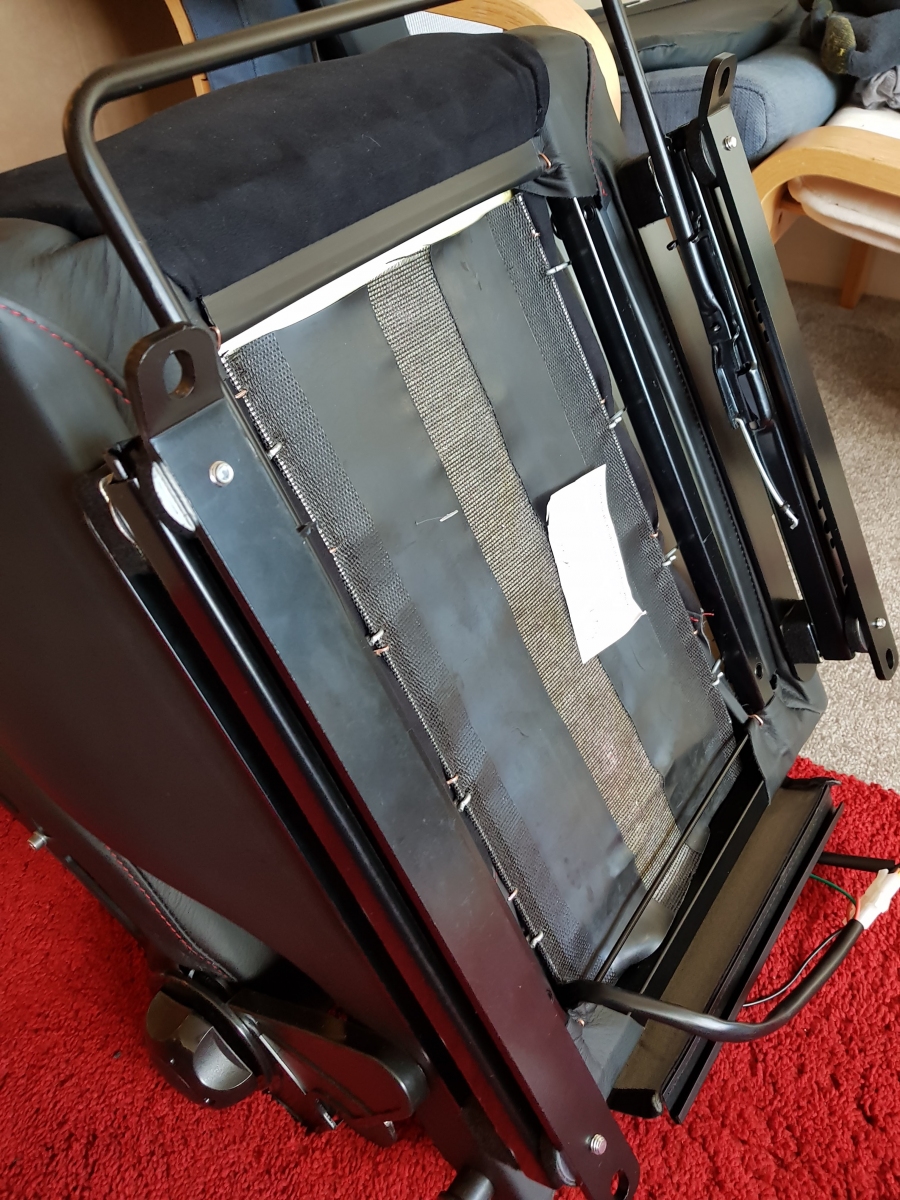
Two issues became apparent: the first was that the button-head allen bolts - which connected the bottom of the runners to the metal bar which in turn bolted into the floor - were too long, protruding 8mm below the mounting bar and preventing the seat from being fitted to the car.
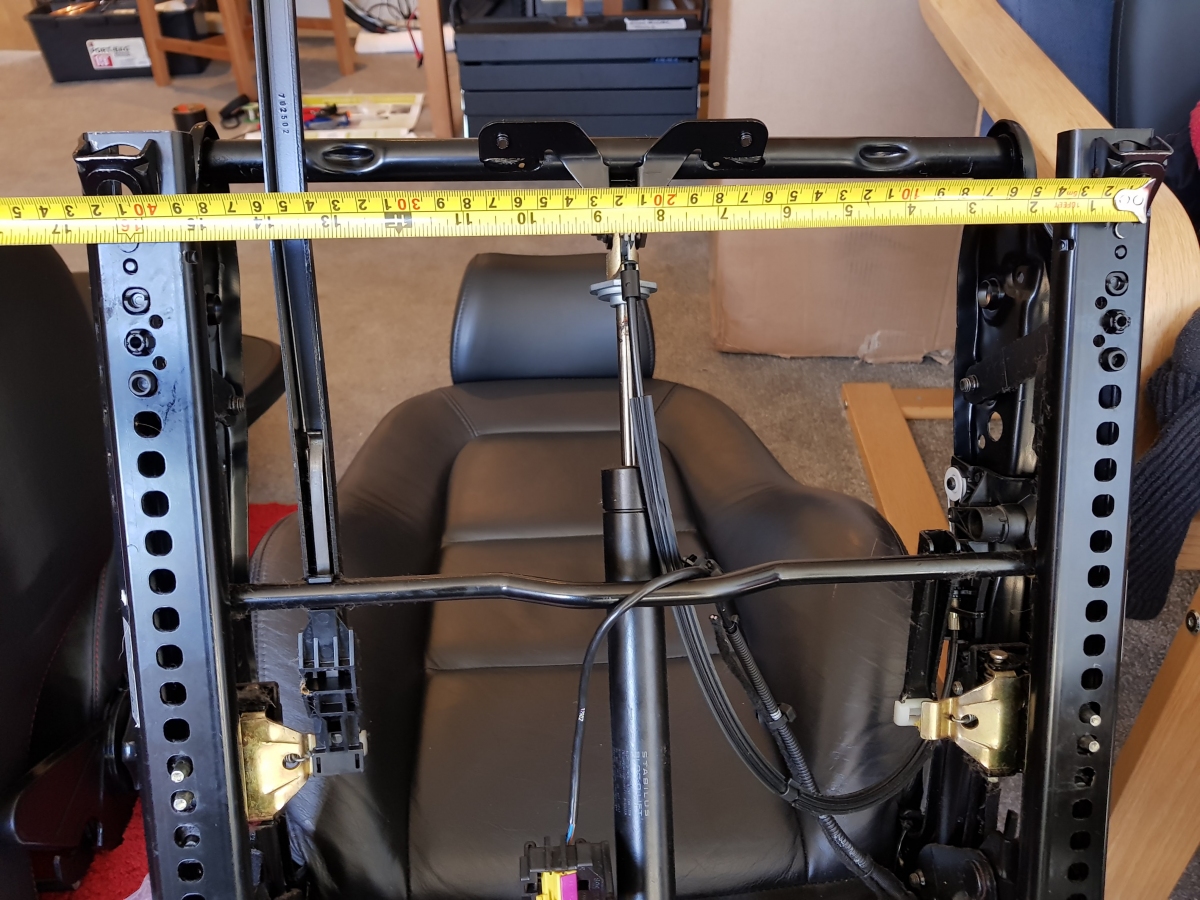
The OEM seats have two locating pins which were a similar size to these mounting bolts, but were in different positions on Shed - the bolts were roughly 15mm too close together compared to the holes in the floorpan. I initially tried drilling new holes but found that, because of the angled front edge of the seat-to-floorpan rails, when you tighten the seat bolts the seats need to move backwards a few mm, which would require drilling quite large holes in very precise locations in the floor; not really ideal.
The alternative was either to source shorter bolts - possible - or space the rails away from the runners. I also found that the seats were quite low, and Mrs Greyhead likes a higher driving position, so I opted to space the runners upwards. Currently, this has been achieved using 40mm-wide galvanised steel washers to make sure the load is spread over a large area, but I think to preserve the strength in a lateral impact I will be having some steel spacer bars made up.
I have also used a similar approach to space the seat base above the runners on the driver's side, and a longer set of high-tensile bolts, which puts the driver's seating position back to very nearly the same height as the OEM seats at their fully-raised position. Mrs Greyhead is very pleased with this arrangment. :o)
Again, I will be having steel bars made up to ensure loads are distributed evenly across the entire length of the seat runners to preserve the frame strength in an impact.

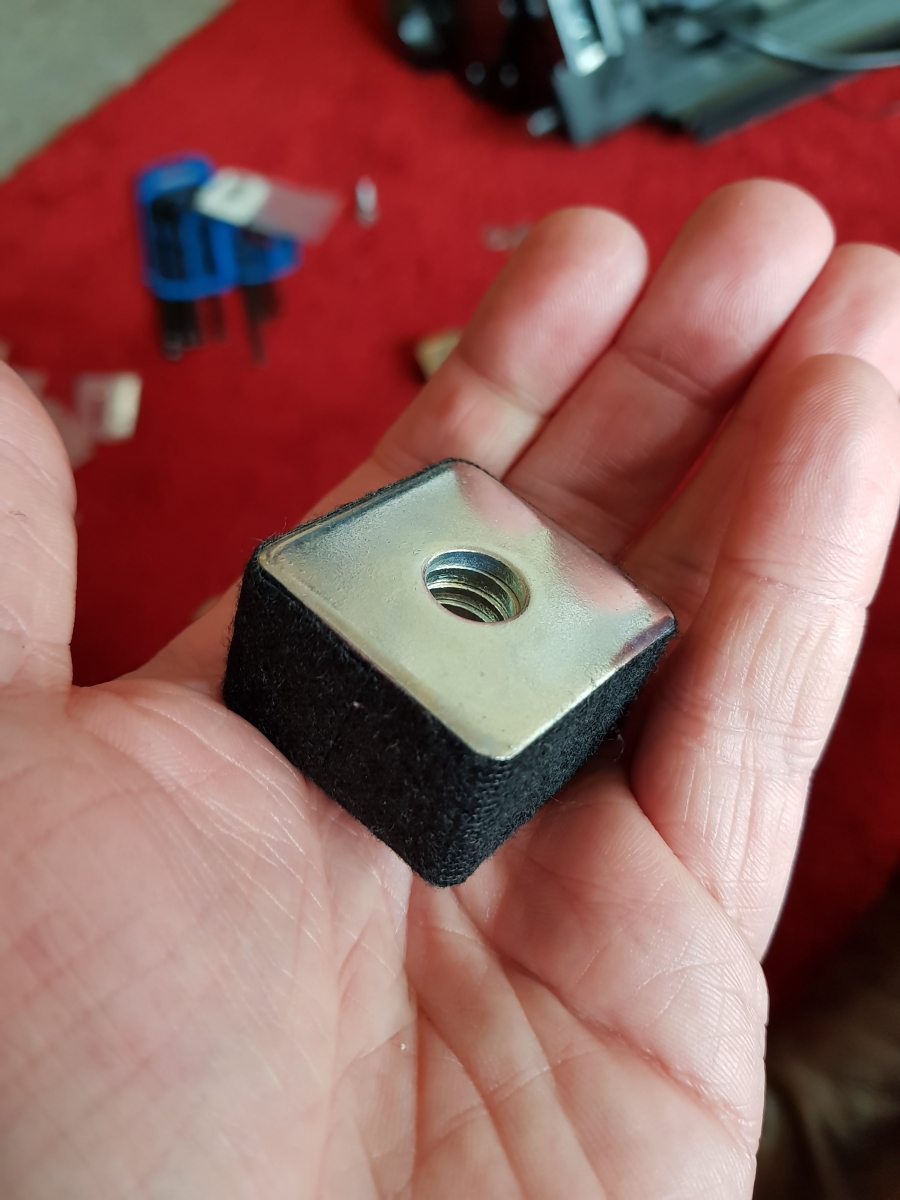

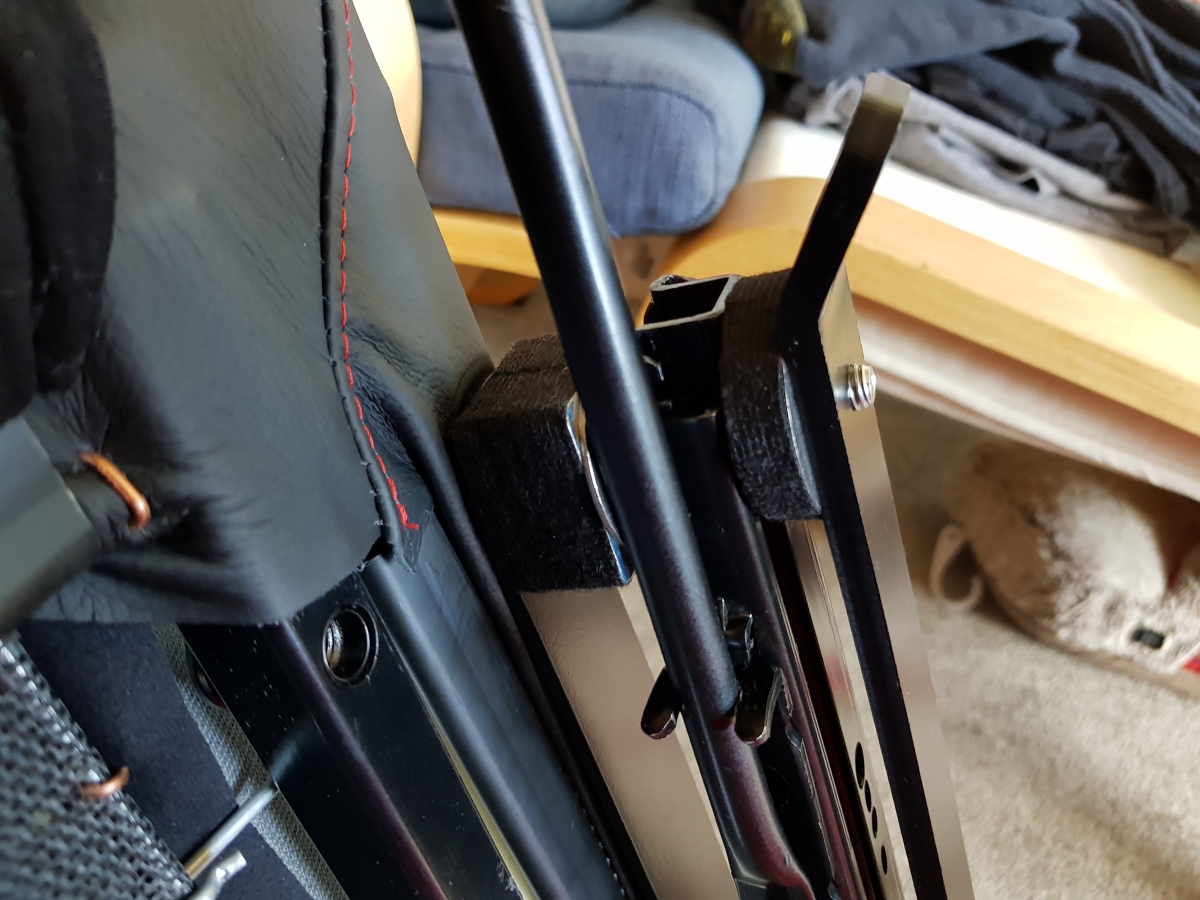
Seatbelt
The last thing to do was to migrate the seatbelt clip onto the new seats. The runners were provided with mounting points and a captive nut with the right thread for the existing seatbelt to be simply un-bolted from the OEM seats and bolted onto the new seats.
The TT's seats don't have explosive pre-tensioners wired into the airbag system, thankfully, as some seats do, and this could have made the migration that much more difficult.
The only difference here between OEM and Cobra was that the seat belt mounting point is roughly 75mm further forward than the OEM position. I was initially worried about this, but because the TT's mounting point puts the seatbelt in-line with the back of your bum, this new position only moves it forward slightly, and you aren't left rattling around in the seat in a way which could be dangerous if I decide to do any accidental upside-down aerobatics in Shed...
But... Six months?!
There's a bit of an elephant in the room here; I don't want to comment on the obvious fact that six months is a ridiculous amount of time to wait for a custom-built pair of seats, but I will say that both GSM and Cobra did their best to keep me up-to-date and informed of the issues they were having arranging for tilt mechanisms.
Everyone who I spoke to at both companies were professional throughout, which went a long way to keeping me happy despite the delays.
I even got to have a chat on the phone with Mark, the MD of Cobra, about the problems they were having with the tilt mechanisms, so it seemed obvious that they were taking the issue seriously and doing their best.
I gather that Cobra are developing a new, cable-based tilt mechanism, and I've been offered the option to send these seats back up to Cobra to have them fitted free-of-charge once they're ready. Unless the current bar-based tilt mechanism starts to show any problems, I may decline the offer on the basis of it being better to have to deal with the devil you know, or however that adage goes... :)
/Al